Lesson 1 – Starter
ZBrush hotkeys
X – Mirror tool
ALT – inverse of the tool used
A – turns object into mesh
CTRL Z – undo
SHIFT – lock object in place/ smooth mesh
For the first lesson we were going over the basics of Zbrush to remind ourselves on how to use it. I found it quite easy and understanding and began working on a creature of my choice. I decide dto create a creature that was a mix between a marmot, a beaver and a seal. I did this because I believed that with the tail of a beaver and the body of a seal, the creature would be a fast and good swimmer, and with the marmot. they would be able to survive in both hot and cold climates with their coat.
Lesson 3
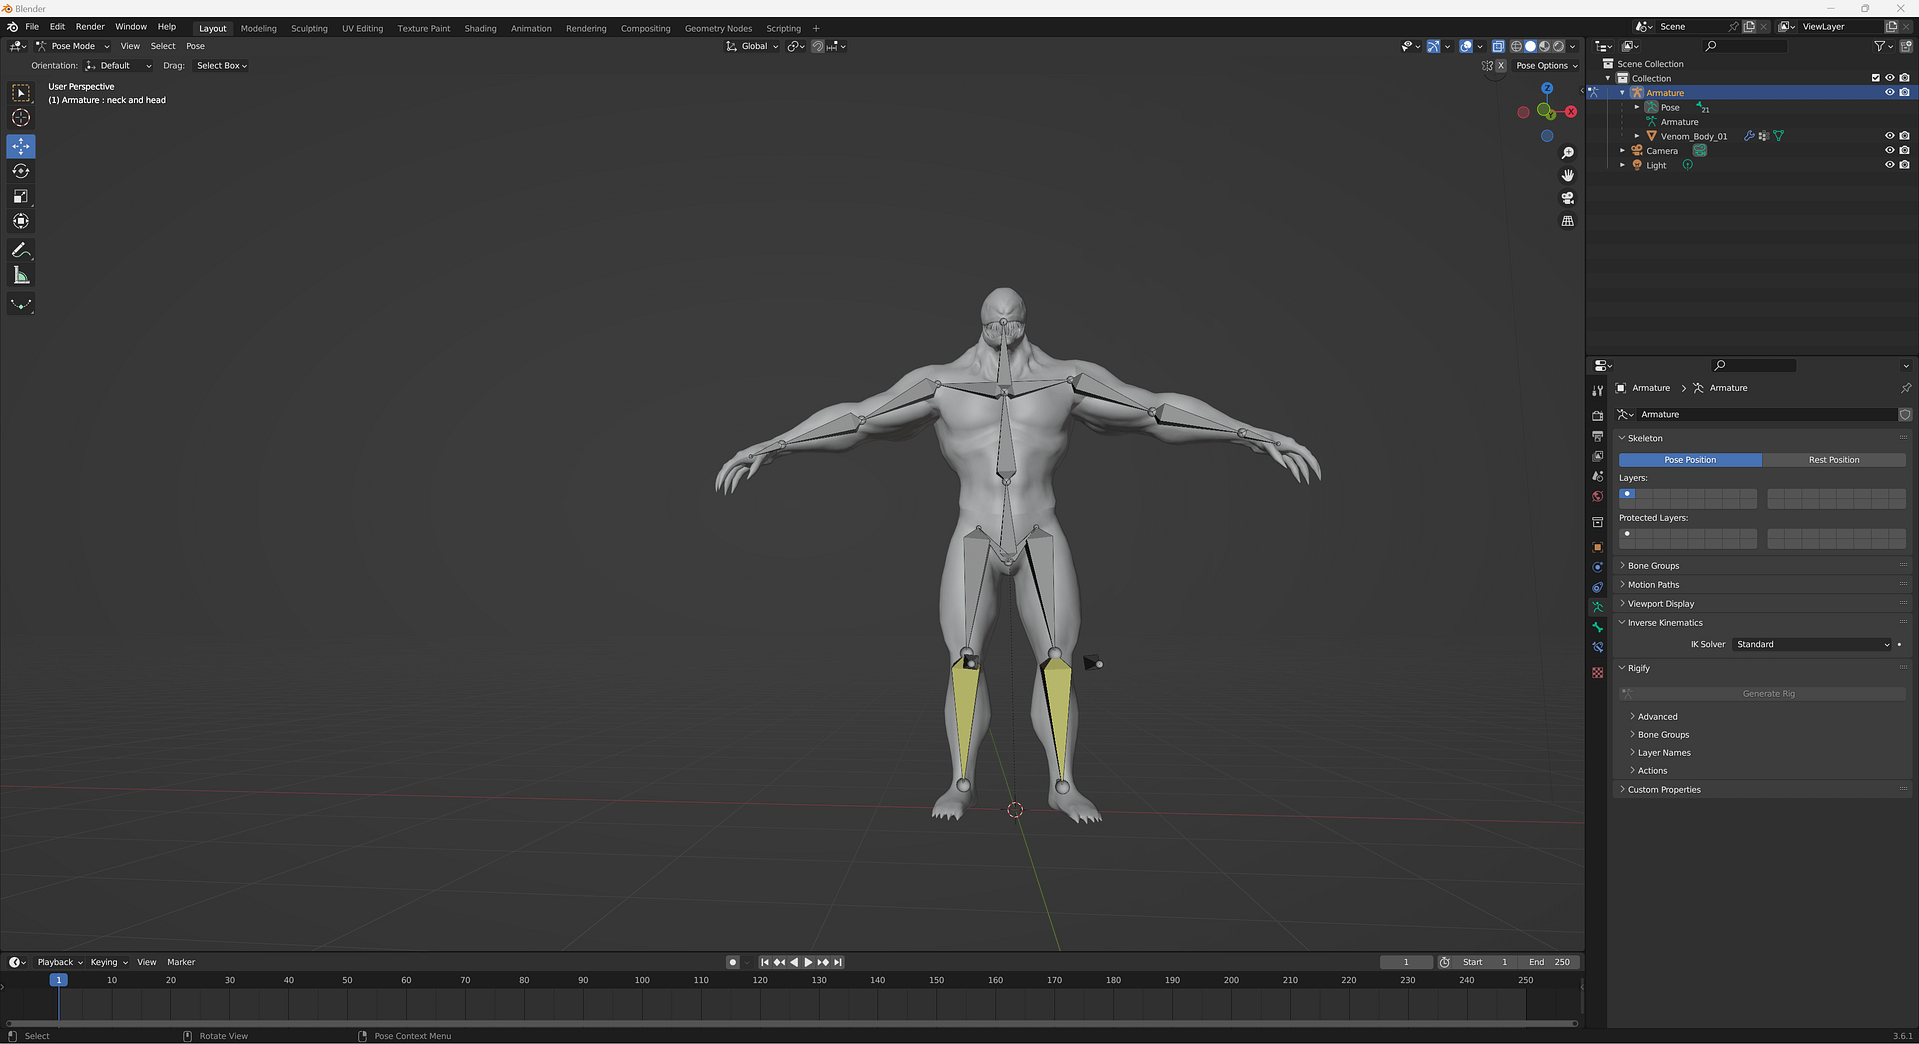
For our lesson on thursday, we went over the fundamentals of character rigging, such as IK, symmetry of bones and weight painting. Below is my progress on the process.
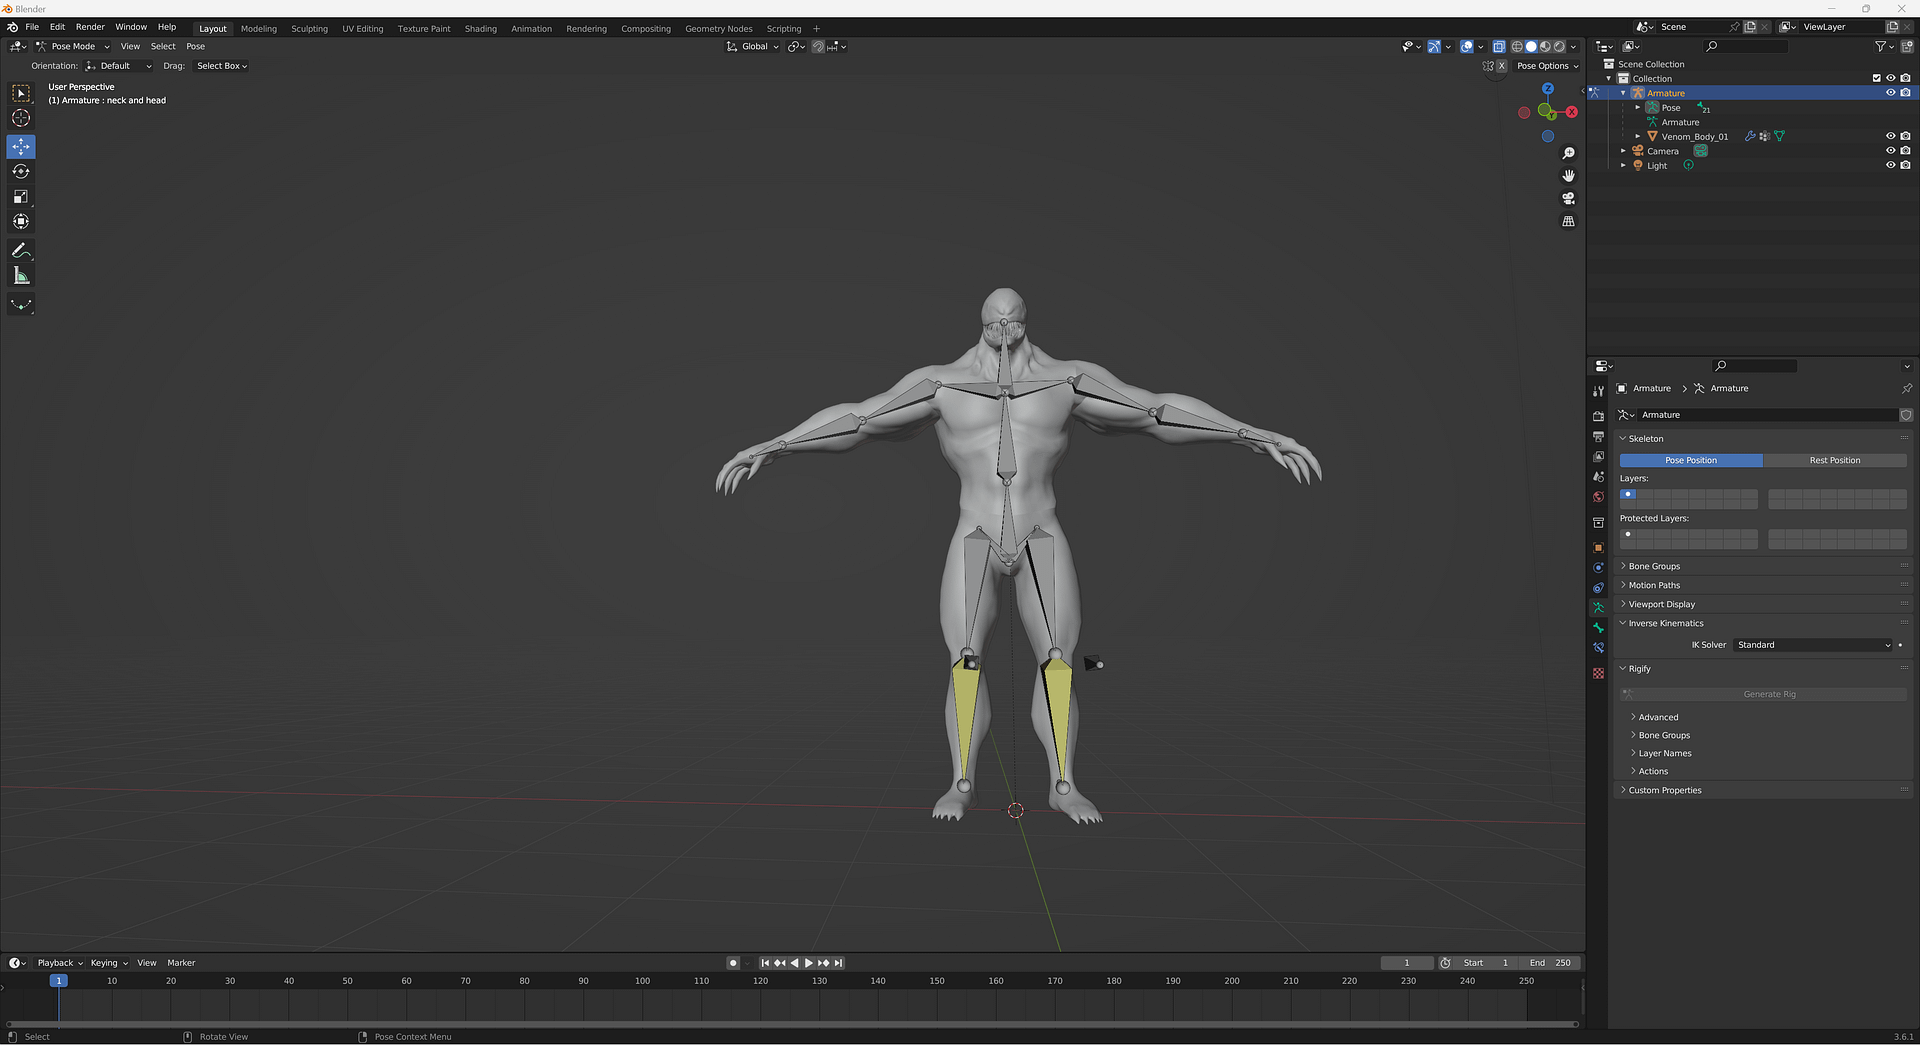
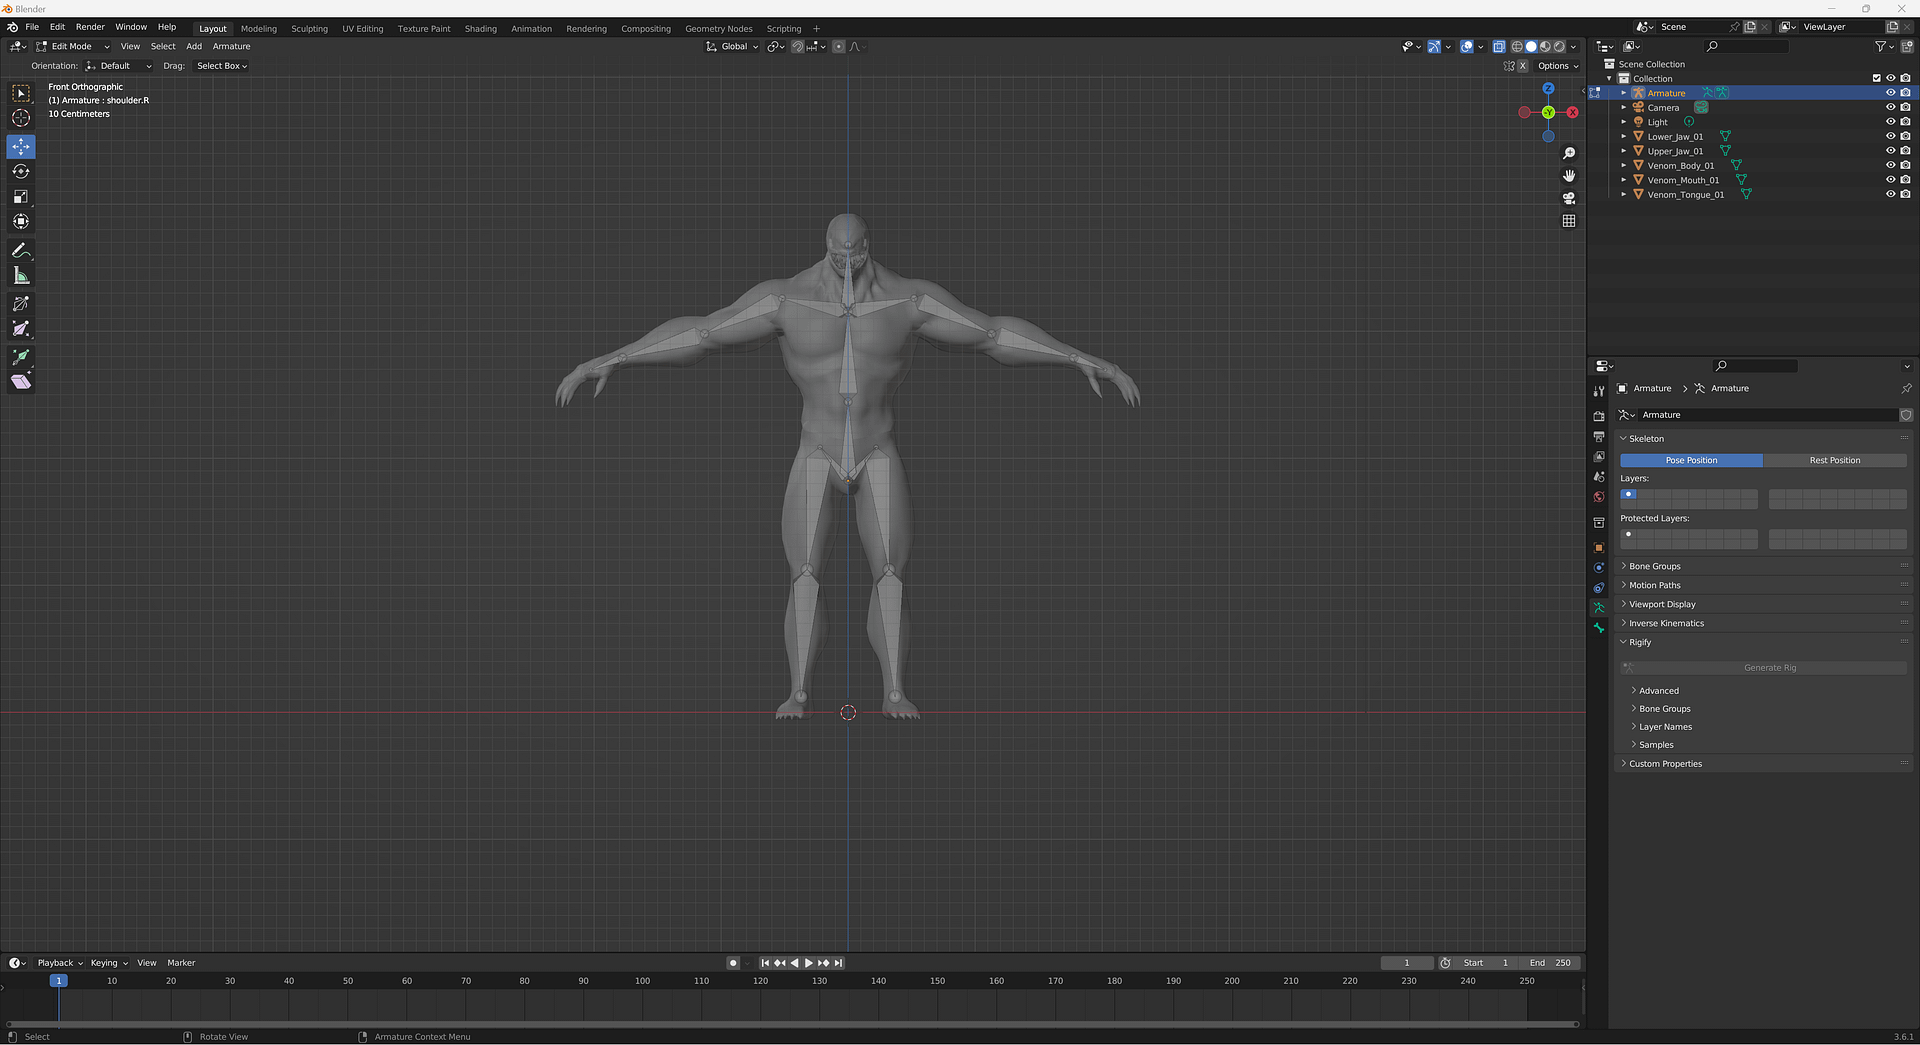
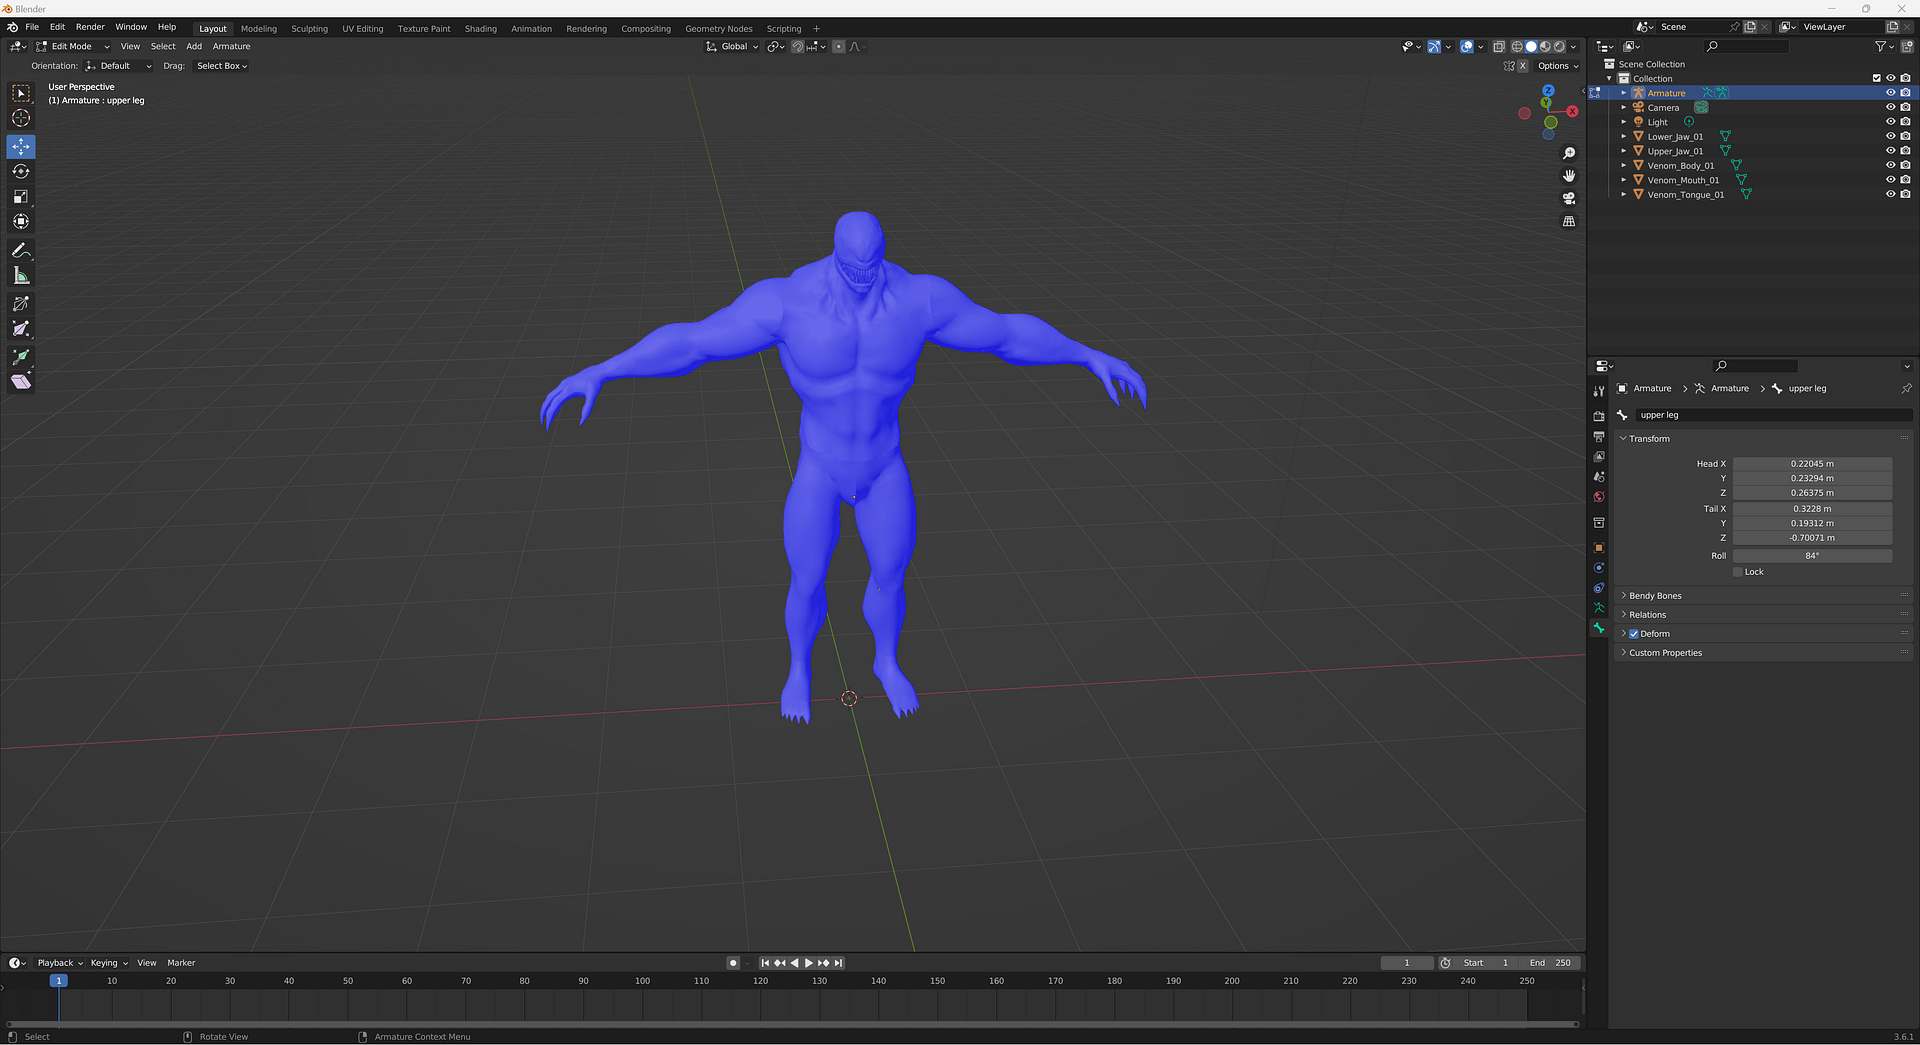
I installed a character rig from sketchfab (link above) and then applied what i learned from the lesson.
I first began by checking the normal and ensuring that the weight was all blue. if there were any red parts that would mean that when rigging, some parts wouldn’t be affected. Then I added the body armature, then the legs and finally the arms. Afterwards I applied symmetry to the armatures so they would mirror on the mesh. Finally I added IK modifiers on the shin bones which meant that once I moved the shin bone the connected bones would correlate to the move and make it look natural, otherwise I would have to rig each bone by hand.