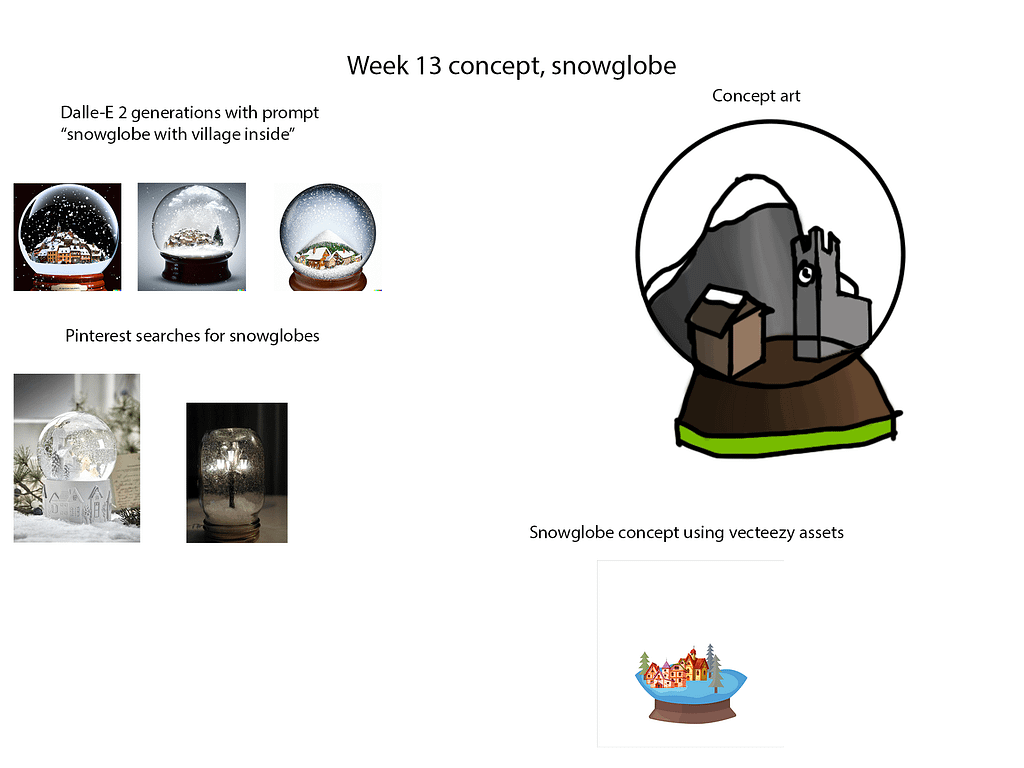
As week 13 was an assessment week I was not required to come in as I could do it from home. I decided that for this week I would stay at home and work from my home computer as I have the requirements to use the software. For the first lesson I began creating concept art. I did this by going onto Dall-e and producing ai generated photos of snow globes. I then went onto Pinterest and looked at some peoples creations of snow globes to gain inspirations. Next, I tried producing my own concept of a snow globe using photoshop. It went well but i believe that there were many things that could have been improved such as shading and the attention to detail. Finally i went onto Illustrator and used free assets from Vecteezy to produce a landscape for my snow globe. This was a massive improvement from my drawing and had the ideas that I had hoped to have drawn.
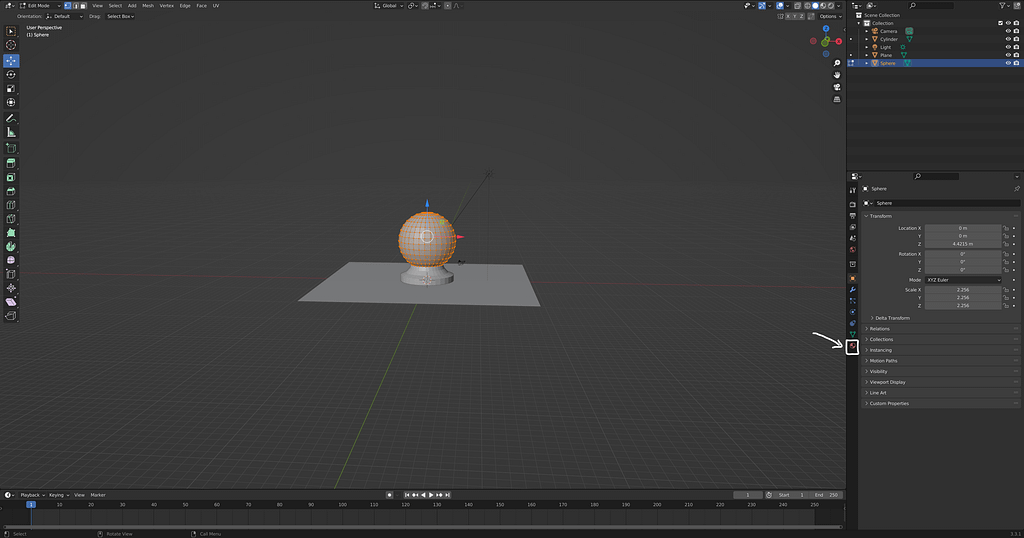
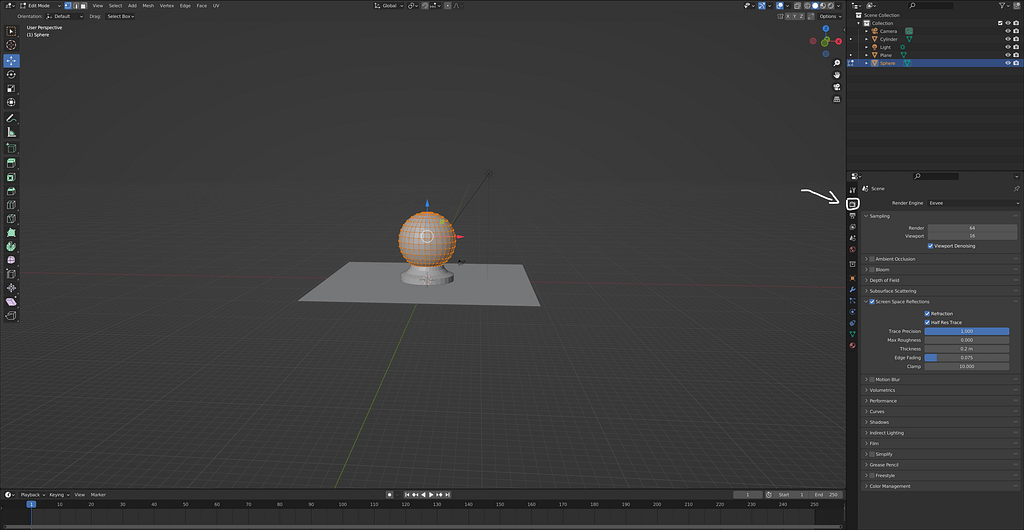
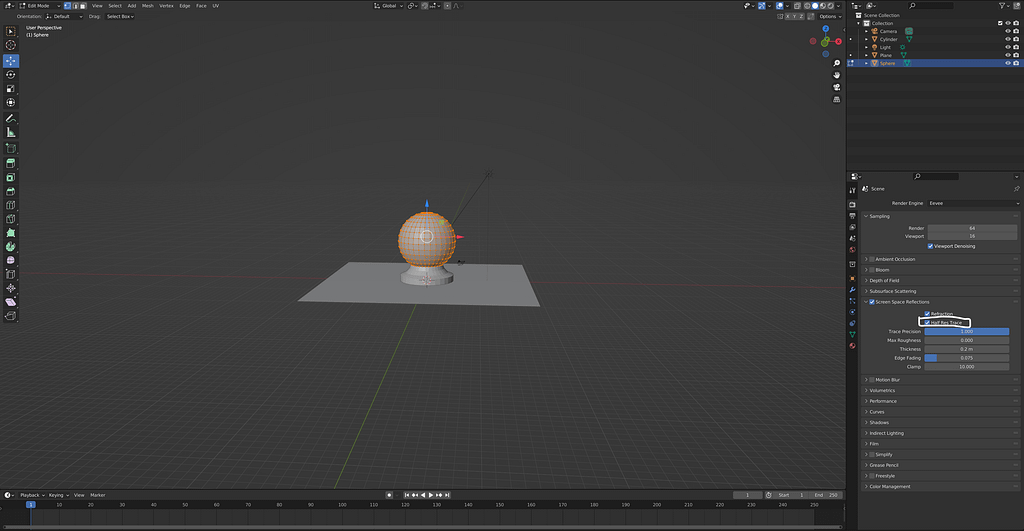
For the last hour of my first lesson of the week I began creating my snow globe on blender, after watching a tutorial on Youtube I successfully managed to create a glass sphere. Below are the step by step guide on creating a glass shape on Blender as well as the finished product.
Step 1: On the mesh of your choice enter material properties.
Step two: Once in Material properties, head to transmission and set it to max.
Step 3: Navigate to the render properties on your mesh of choice
Final step: Navigate to screen space reflections and enable refraction.
You have now successfully created a glass shape.


The Youtube tutorial I used will be shown below:
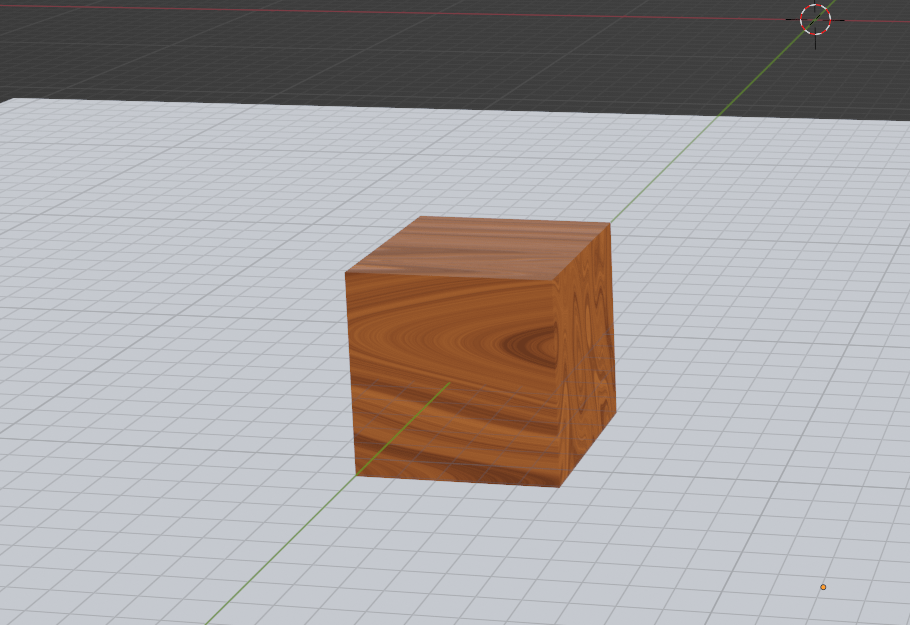
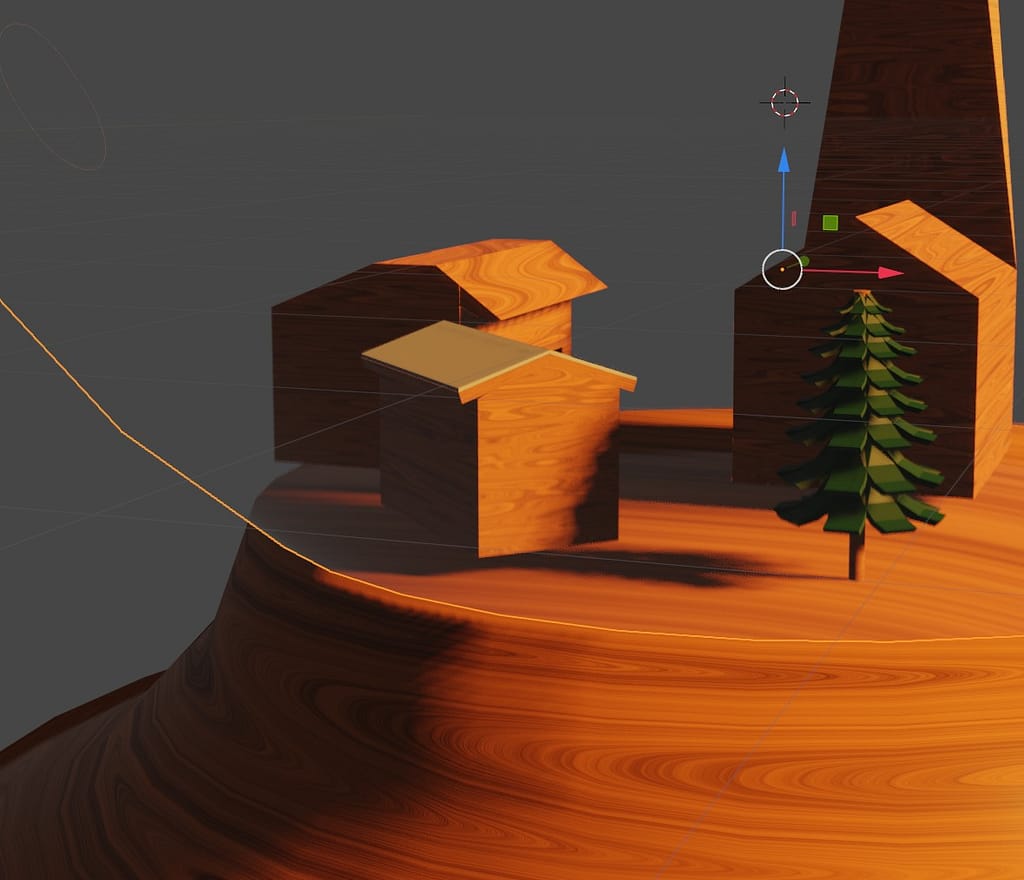
For my independent study lesson on Wednesday, I began immediately working on Blender. the first thing I decided to do was attempt to create a natural wood texture for my houses. this would be crucial for my snow globe as it used medieval village houses in it’s design. I found a youtube video that explained the process very quick and efficiently and it really helped me out.
After watching the tutorial, this is what I ended up with. This will provide really useful for my buildings in the future
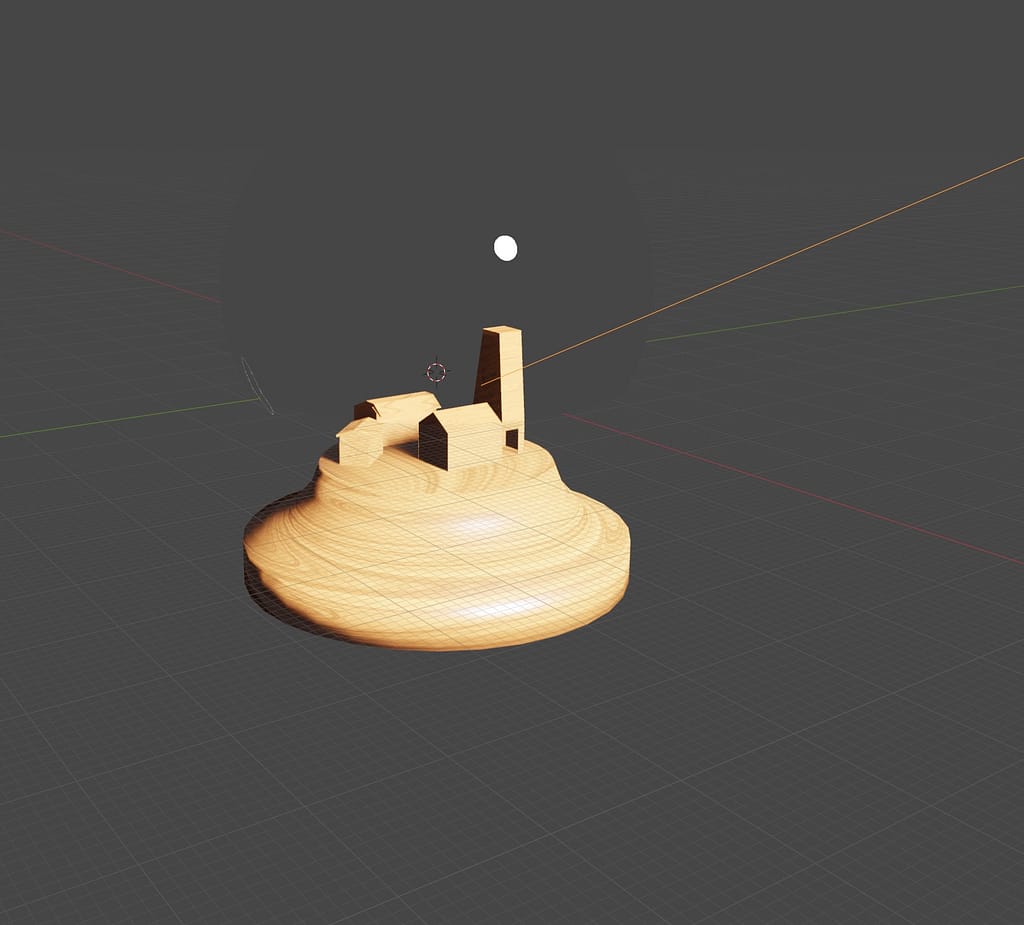
After that, I then began re working my sphere as once I built the houses, they were distorted and couldn’t be seen from the outside. I decided to add a glass BSDF and then removed the original BSDF, this immediately made it clearer and allowed me to see my buildings inside.
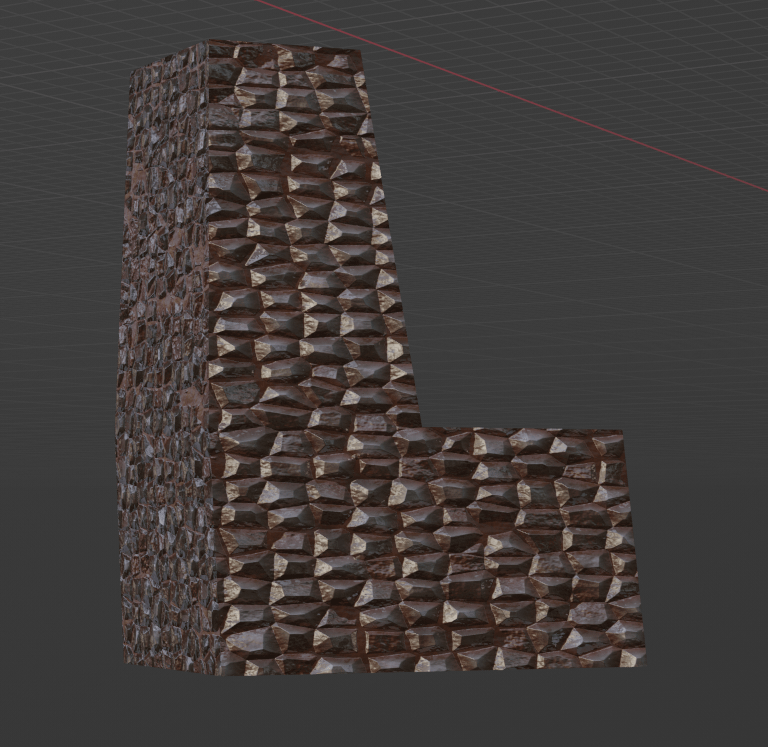
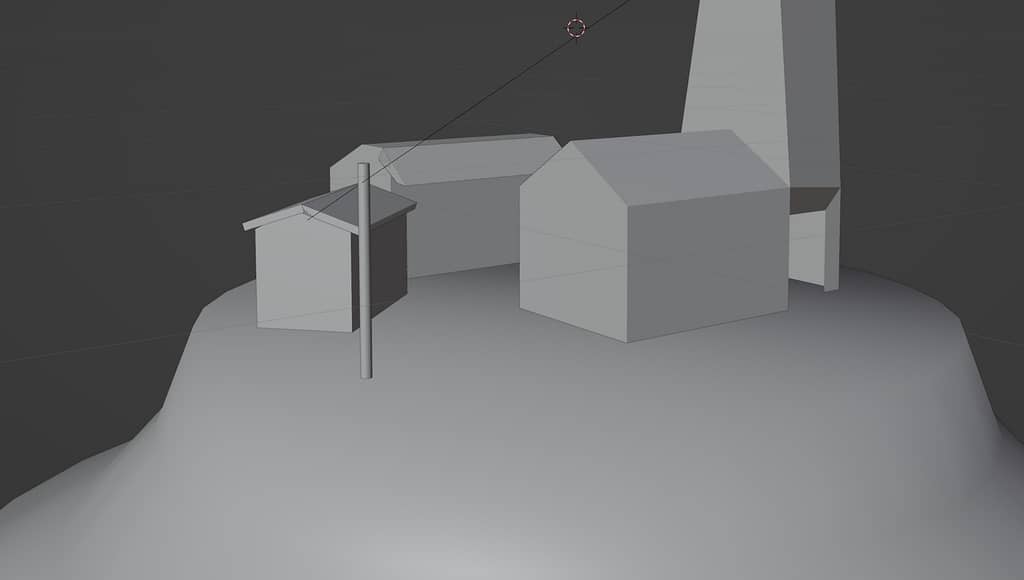
After I worked on My sphere, I began working on Building a castle. I used the video below to hyelp me gain an understanding of what to do.
For the most part it went well but I believe that it could have been improved further as some edges seemed distorted and stretched
At the end of the independent study, I worked on improving the houses by adding rooves to each one. I also managed to figure out why the sphere wasn’t working as intended and that was due to the transmission not being set at 0.1
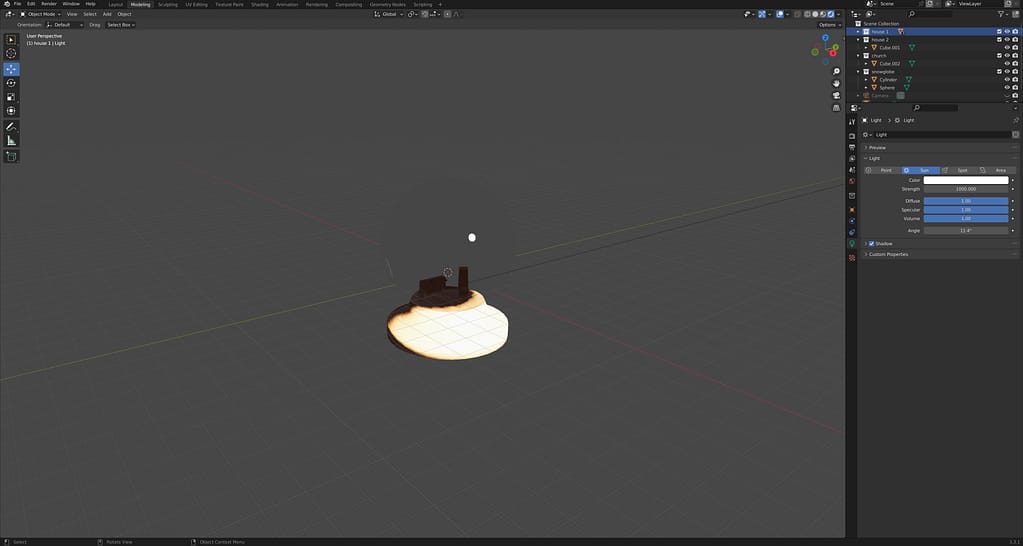
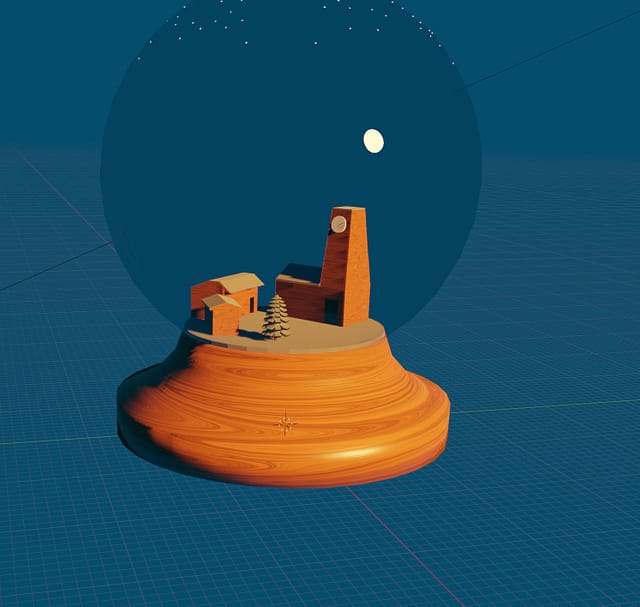
For the first hour on Thursday I spent time just finishing up my houses inside the snow globe before I began to work on the snow it self. I ensured that the rooves were correct and that nothing felt out of proportion. i also slightly improved the snow globe itself to allow for the light to properly pass through.
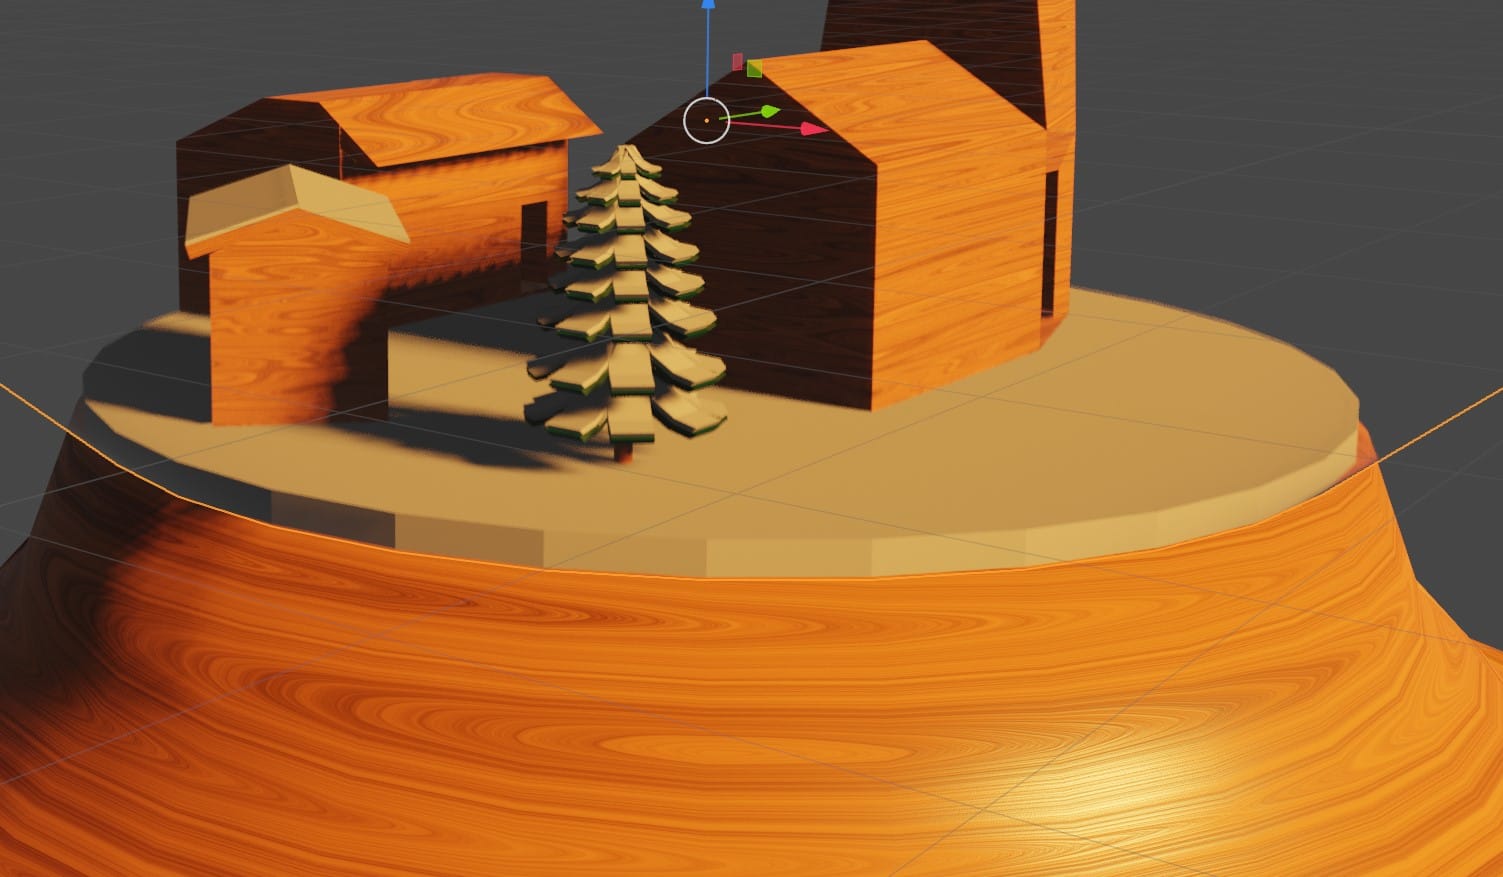
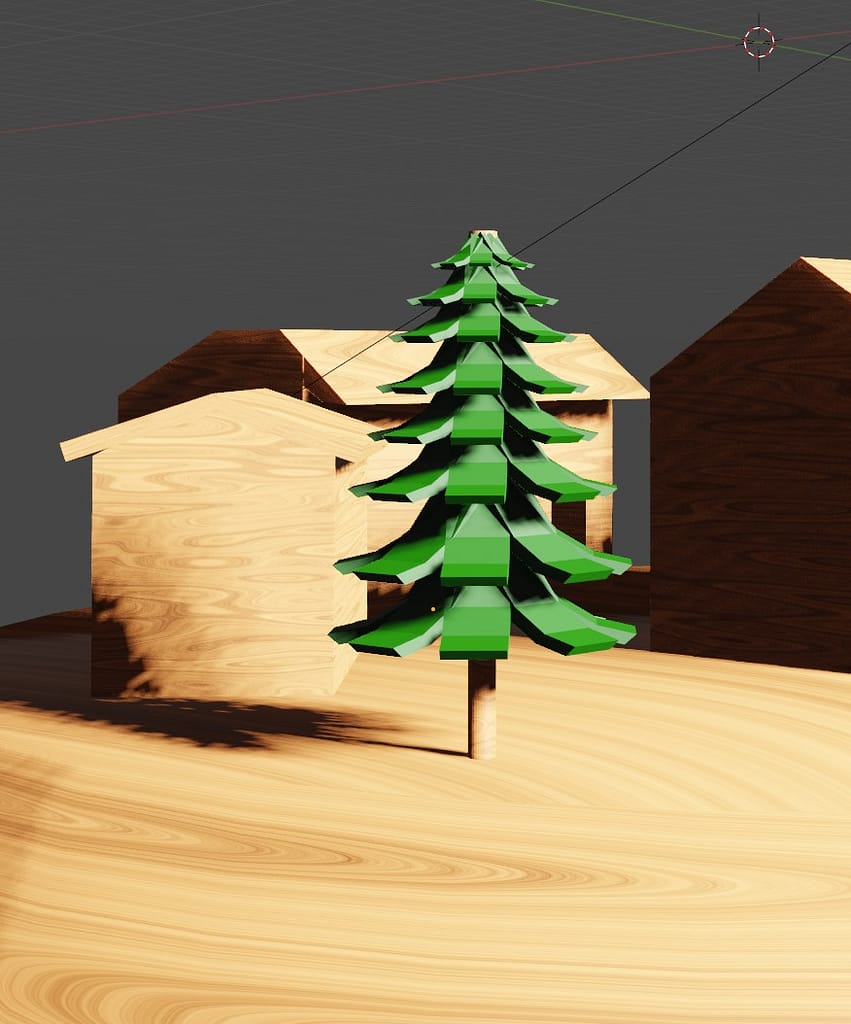
Before beginning the snow I decided to add a tree to my snow globe. First I began by adding the beam and then I worked on producing the leaves
When adding the leaves, I went by adding eight on each height. This made a realistic pine look to the leaves as it would be consistent and at the same angle
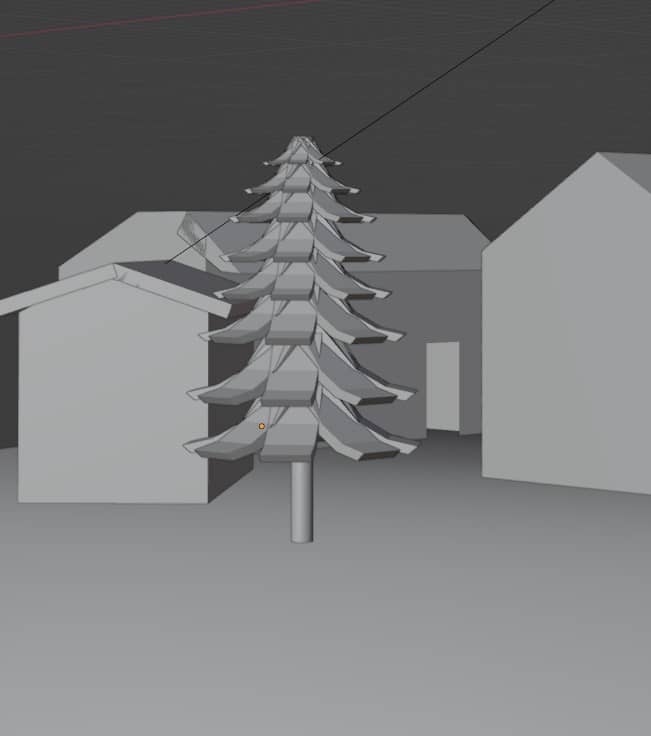
After adding the leaves, I added the material to the tree. Ensuring that the leaves were a dark green and the body of the tree was the same wooden pattern I had been using
The final part of my building phase was creating the snow. I began with the small house as a way to examine how it would look. after a few adjustments, I believe that it went well and I progressed onto adding snow to the other features. I also changed the lighting to a more sunset feel as I believe it made it seem cosier and made the colours pop more
The next part of the snow phase was adding snow to the base and the tree. the tree was surprisingly easy compared to the base as it required precise size and not just copy and pasting a previous part such as the leaves

For the final part of the snow, I also integrated more detail into the church by adding a clock. This made the scene feel more alive and less toy-like.

Next, I started by adding particles which would give a snowfall effect. This made the scene feel even more alive ad made it more unique
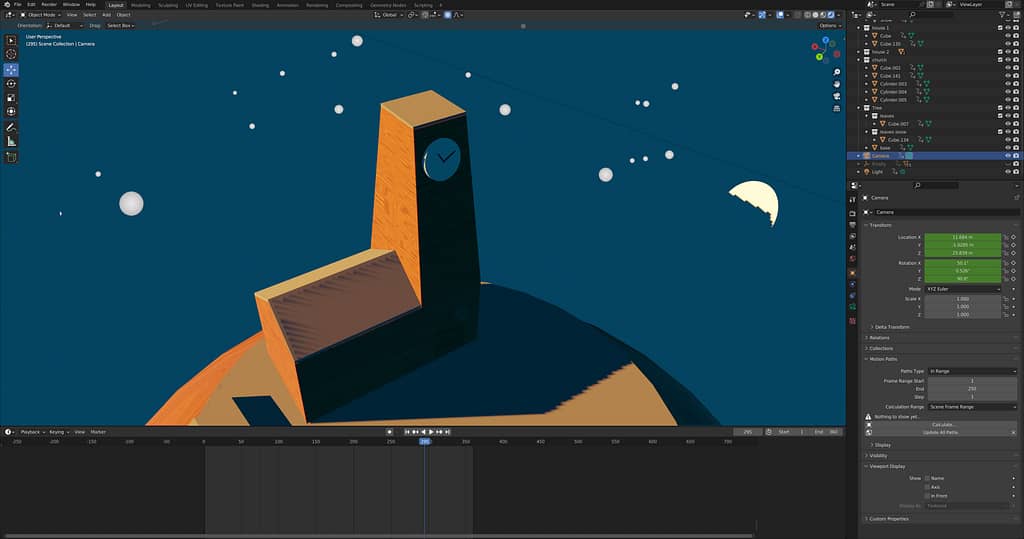
Finally, I animated the scene as well as the camera. This was the most difficult part as if even the smallest thing went wrong then it would have had to have been restarted. Luckily, it only took me around an hour to finesse. Unfortunately, when I began rendering it, The glass and particles wouldn’t render and I was unsure as to why that was the case. However I did manage to screen record it but at a lower resolution and quality compared to the video on the right