
For Monday and Wednesday’s lessons I began by getting myself used to creating explosions withing Blender. this would be the first step in creating my supernova explosion and without it I will not be able to create a realistic explosion. after watching several YouTube videos, of which one of them is shown below, and several restarts trying to figure out how to get it to work, I eventually ended up with a simple yet effective animation of an explosion. I knew that more work had to be done as it wasn’t as good as it can be but for a first test I believe that it went pretty well.
For Thursday’s lessons, I began experimenting on particle effects a bit more and attempted in creating a spiral movement. I found out that if I create a regular particle effect then create a circle mesh with the forcefield physic property added then converted to spiral force it will create a simple but effective spiral force. Below is a screen recording of my findings and how it was achieved.
I knew that both these particle effects can be combined to create a very realistic look of a supernova explosion. I could also use it to create further details to the explosion such as the implosion and its consumption of mass.
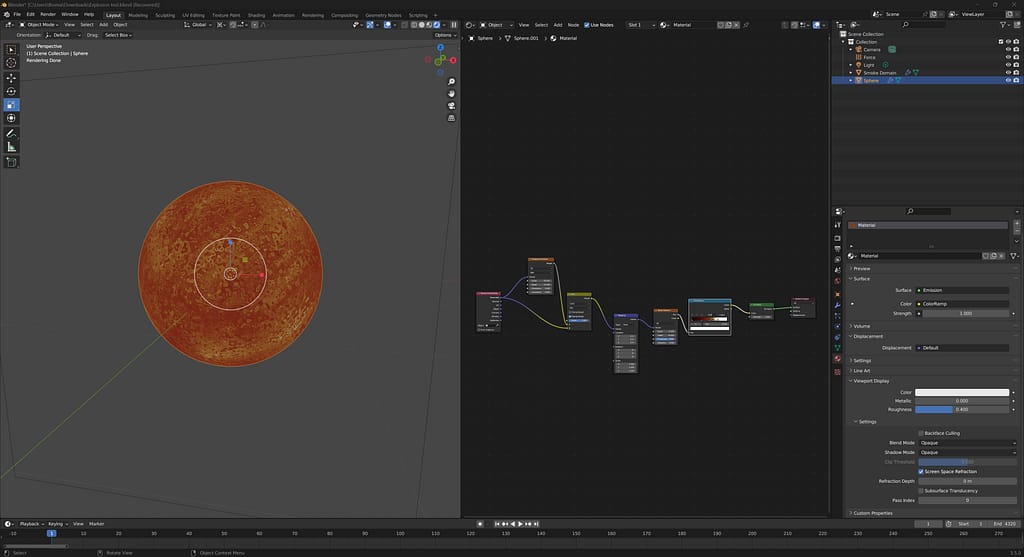
For Friday’s independent study, I began working on the texture of the sun and the flames emitting from it. I began with making the red giant texture using musgrave nodes and colour ramps and overall I believe that it went out very well. Below is an image of the red giant which I produced. as well as the nodes used to the right of it.
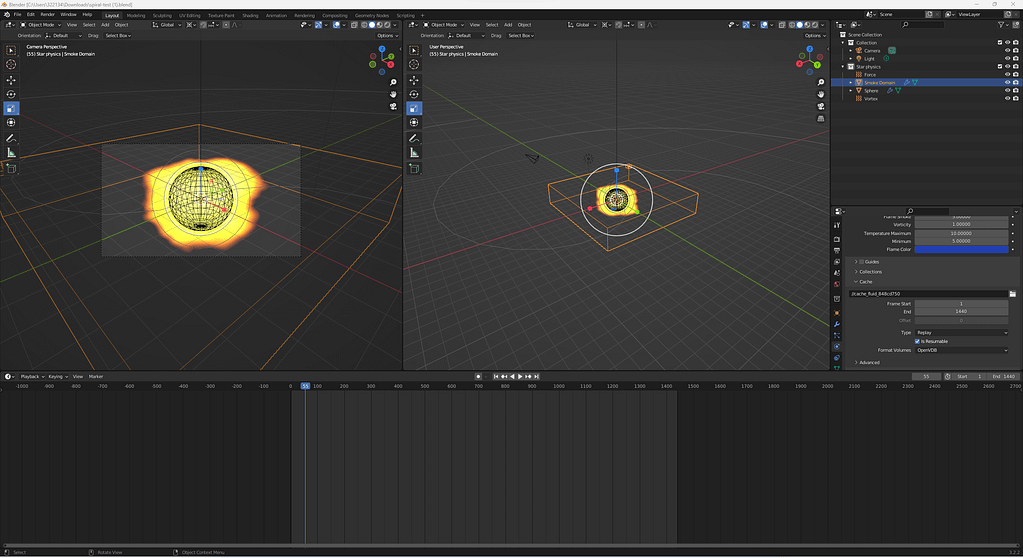
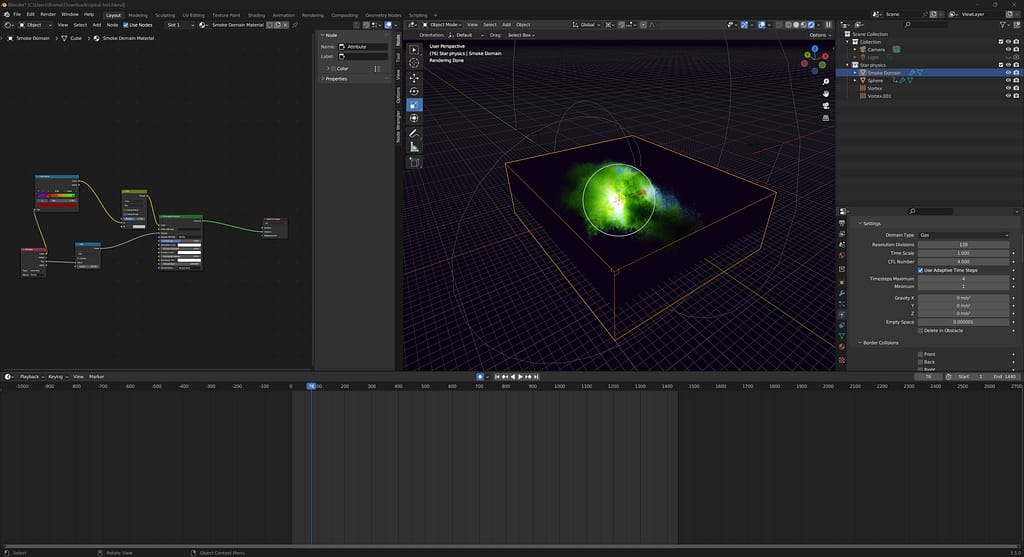
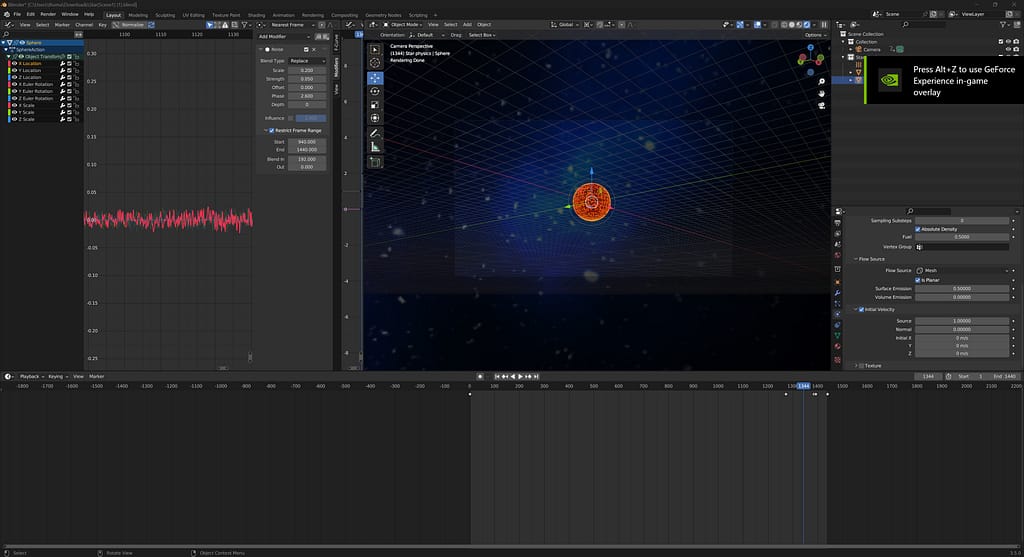
After half term, I went straight into my FMP.I first began with the flame physics of the tsar that would explode. I used force physics as well as a quick smoke effect to make an effective flame. I then altered the colours of the flame as well as its behaviour to make it seem more realistic but wild to really portray the fact that this star is dying. below is a quick render of the progress I made so far.
My next plan of action is to set the duration of this animation to the desired length. I believe that around 30-45 seconds is a reasonable duration for this segment and by adding different camera shots, It would allow for a very cinematic and effective scene.
After further research into supernovae. I found out that due to the “battle” between the pressure and the stars gravity, the star begins to collapse. I decided that I would exaggerate this feature by adding pulsing of the star. This would also figuratively relate to a heart pulse as I wanted to give the tsar a personality as such and so by giving it human characteristics it made it feel much more alive and would continue adding detail to the animation.
Peer Feedback: 24/04/23
Pros: Very detailed on the planning process and including the reference videos used to create the first animations
Cons: Doesn’t render (NOT HIS FAULT)
After receiving this feedback I decided to work on my Cons. It would be a difficult task as my goal I am aiming for requires a lot of power. I believe that if i reduce the resolution I might be able to create a realistic look but also preserve the power.
For the next lesson, I began reworking on the keyframes as I felt they were too quick and didn’t last as long as they should have. I calculated the gaps between each pulse and ensured that it finished exactly one minute into the animation where I would begin working on the explosion itself. This would provide extremely useful as I would be able to focus entirely on the supernova and not the collapsing star.
End of Week 27
For the last full day of week 27 I began experimenting on gas simulations in combination with blender. I managed to change the flow of the flames and I was able to create smoke but after importing it to a different computer, the smoke didn’t render for a reason unbeknownst to me. Below is a screenshot of my progress in creating the vortex flame which will be used for my supernova.
Week 28
For week 28 I continued experimenting with certain features. I tested to see how the scenes gravity affected the nebula. I also noticed that by adding a force field to my nebula. It would push the smoke outwards if the value was a negative. This made sure that I could create a realistic explosion as well as ensuring it wasn’t too small.
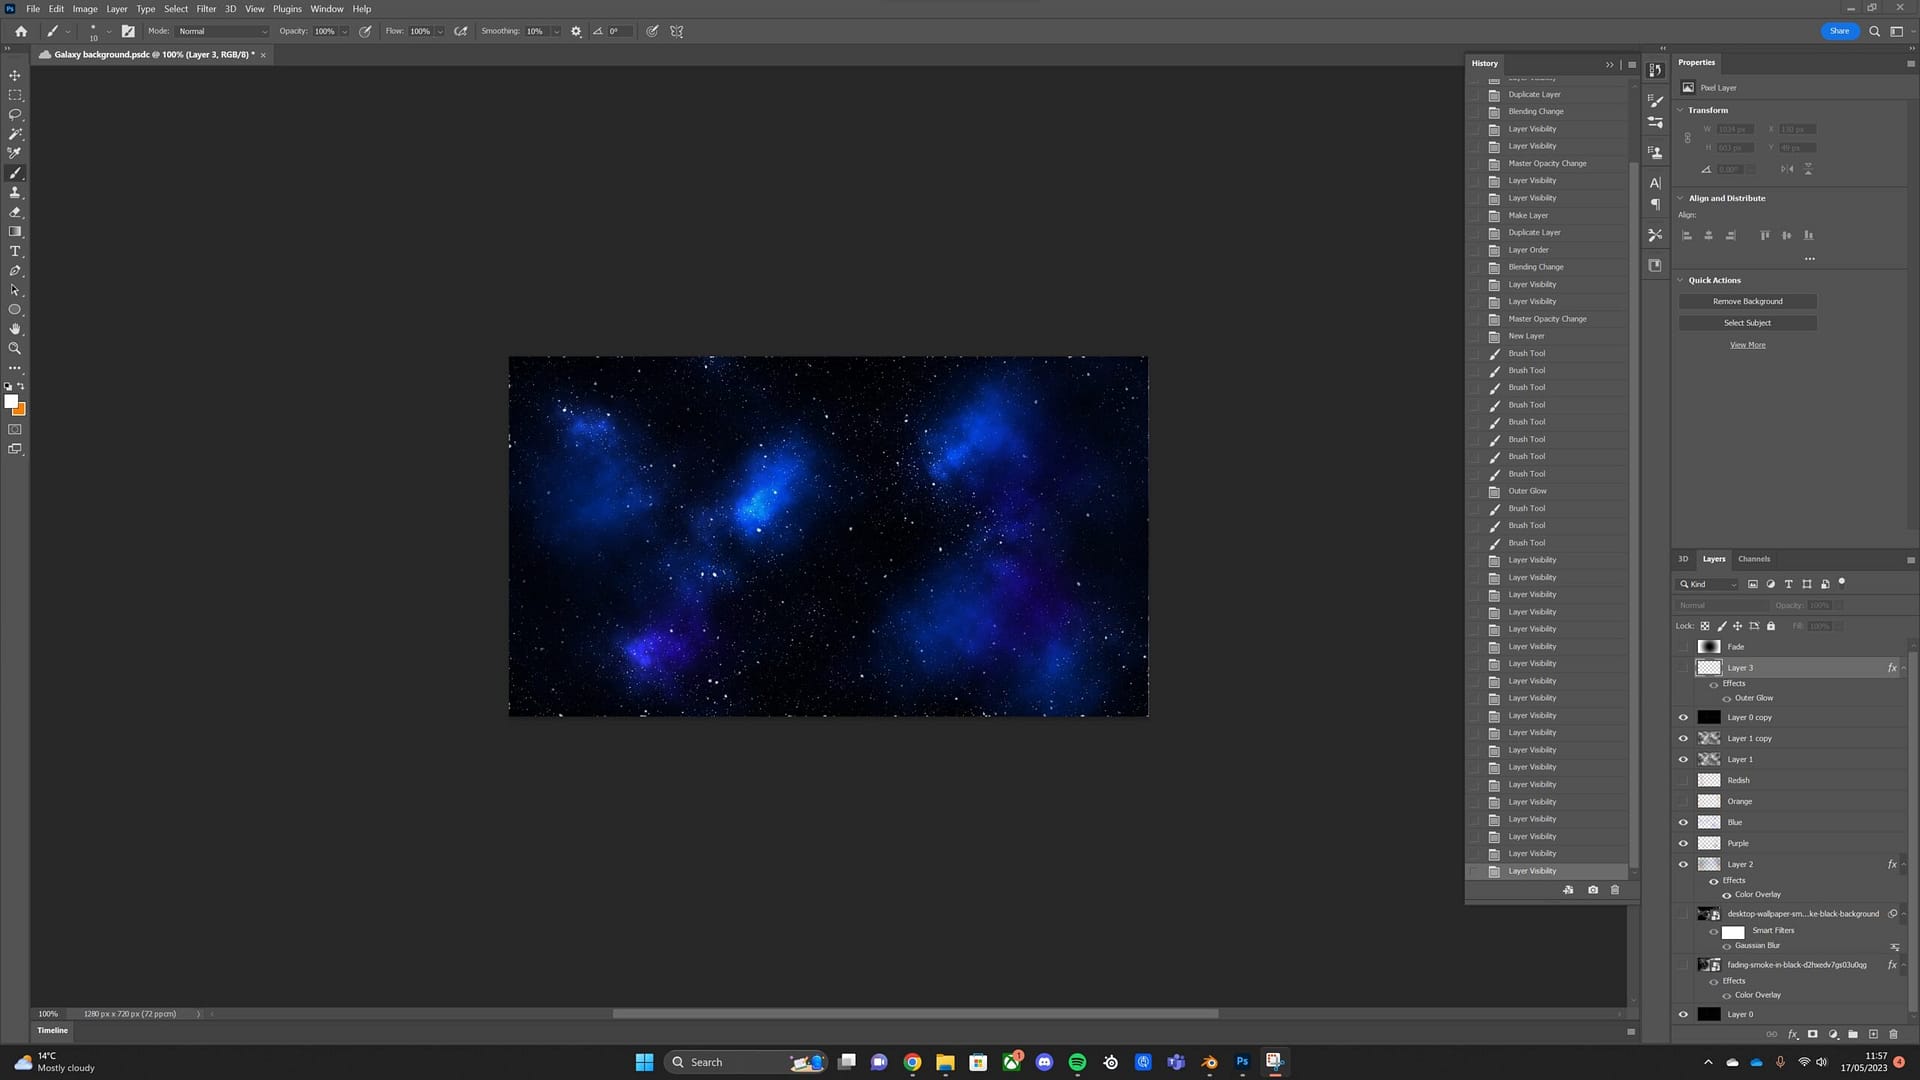
For Thursday and Friday’s lesson I began noticing that my computer began running slowly again. To combat this I decided to create two different files. One for the imploding star and the next for the supernova. Afterwards I began working on the environment. This would allow for a realistic galaxy which would prove useful at the beginning. I would then create a seemless transition between the galaxy and the fallen star. Below is the galaxy which i created. I believe that it is effective and simple as it will only be used for a small portion of the video.
Week 29
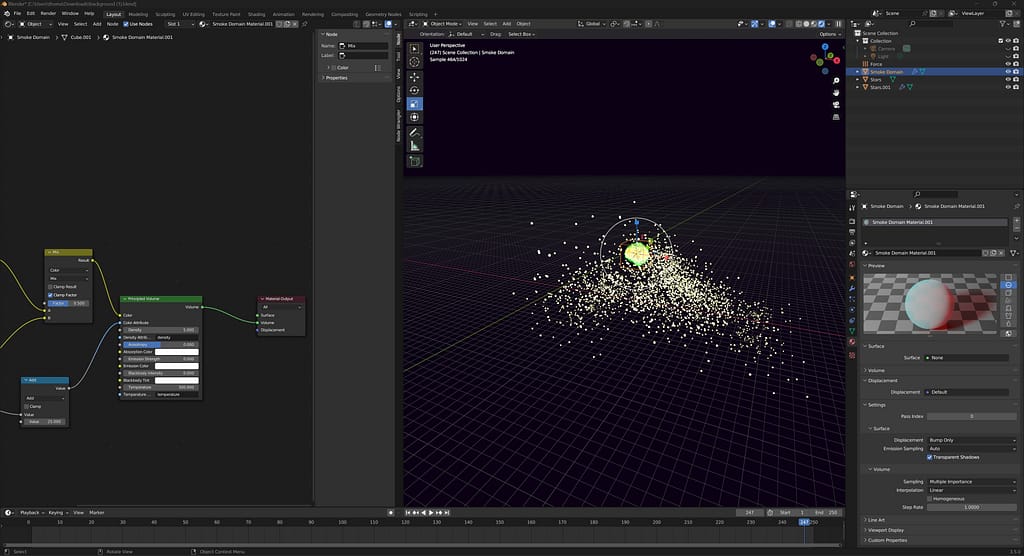
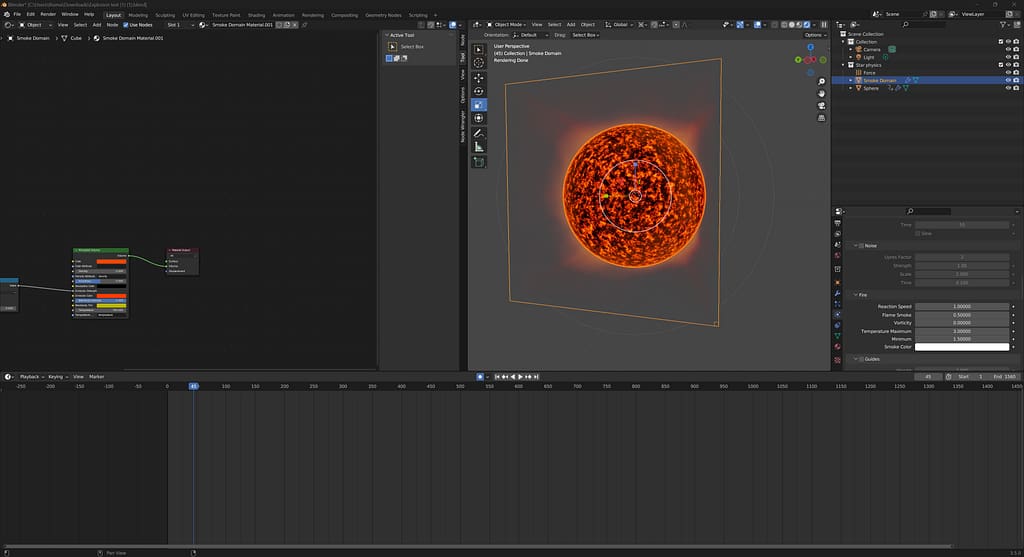
For the next week I began working on the smoke again. I started working on the major part which was the nebula. I began by adding more vortex forces and removing the simulated gravity. this ensured that the smoke would not be affected by external forces apart from the vortex. Then I began to work on the smoke colouring itself and ended up with a nice reddish tint which would provide very useful. Below is a screenshot of my progress so far.
Week 30
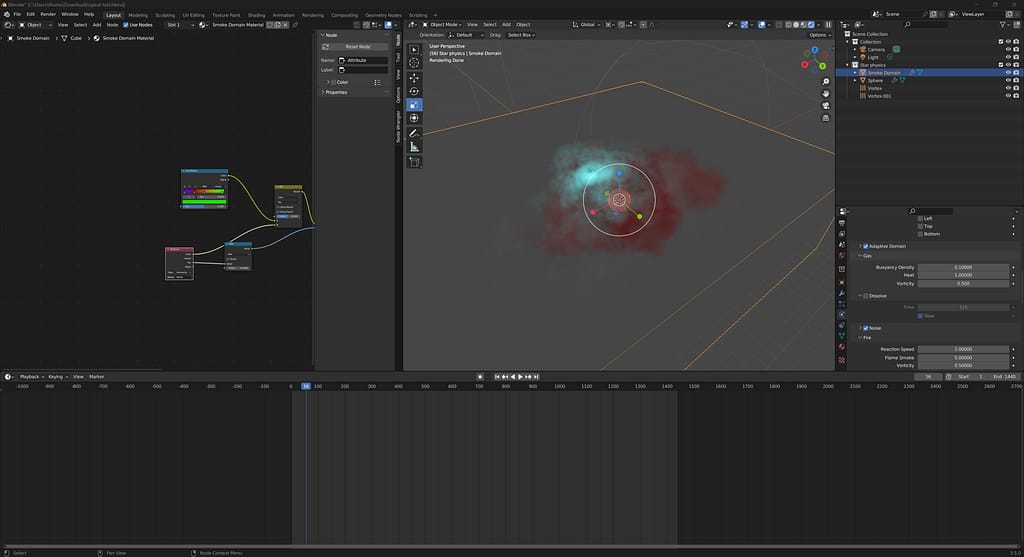
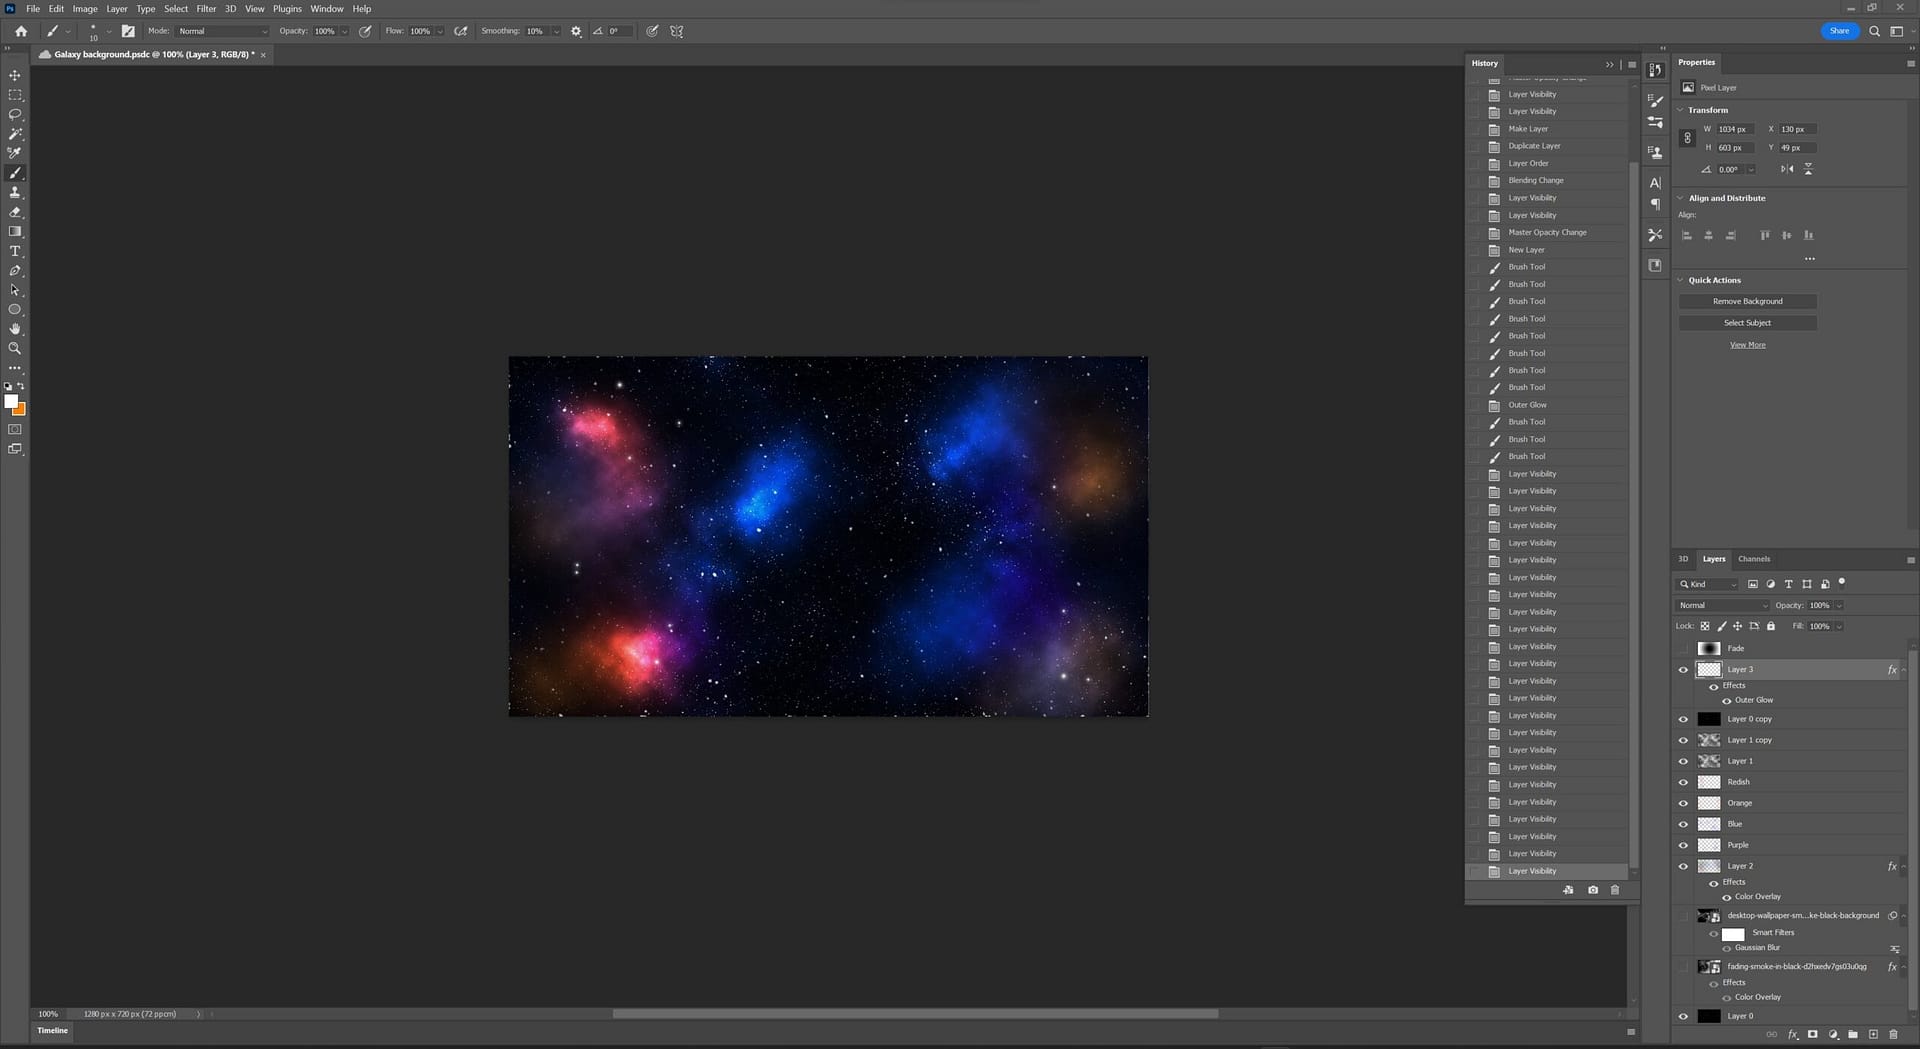
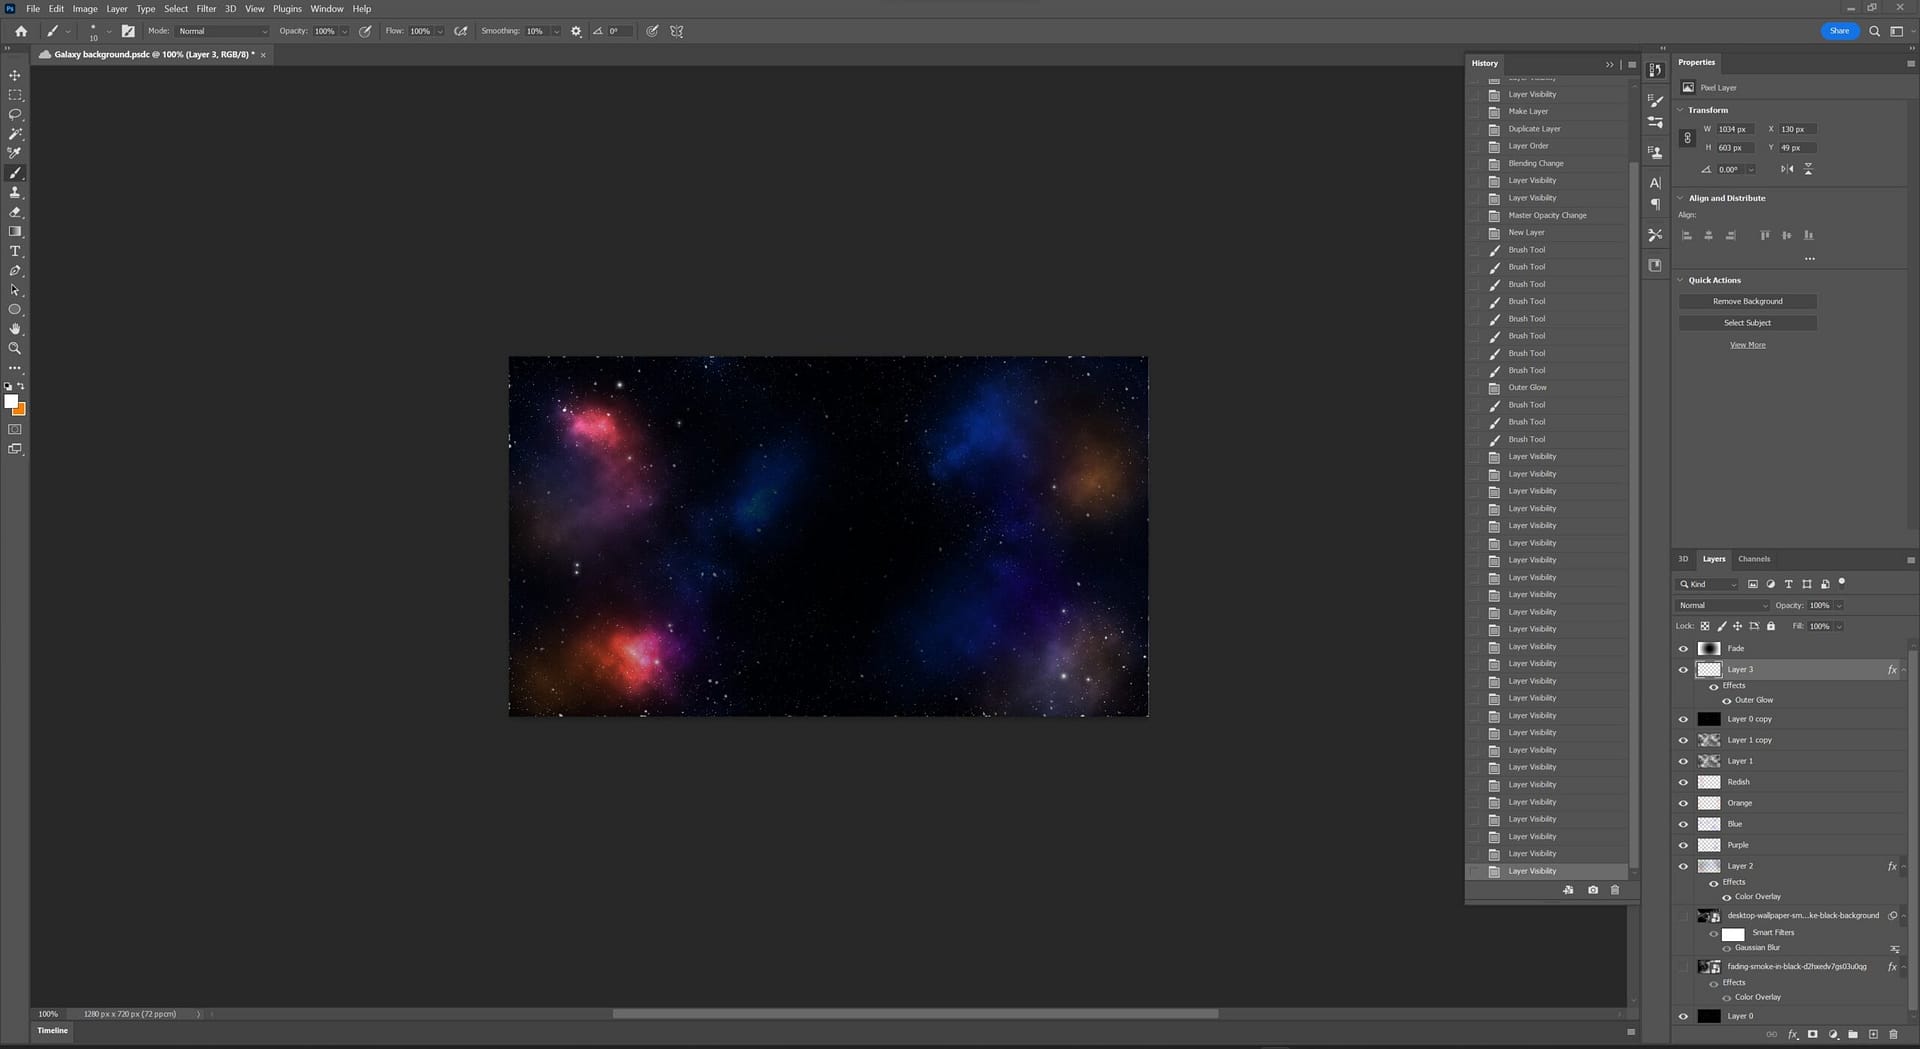
For week 30 I began upgrading my nebula. Unfortunately I realised that the Blender that was being used on the college computers was an older version than the one used on my home computer. because of this, my progress had been stalemated as the physic properties would either corrupt or work differently due to the way the software render smoke (the computers that I was using at college were on Blender 3.2.1 and so some of the nodes that were in place were not implemented until the newer versions such as Blender 3.4 and 3.5. Once I got home and worked on my computer I managed to edit the smoke and create a vibrant colouring using different unique tones to create a vibrant and eye catching nebula. Below is a screenshot of the progress.
Week 31
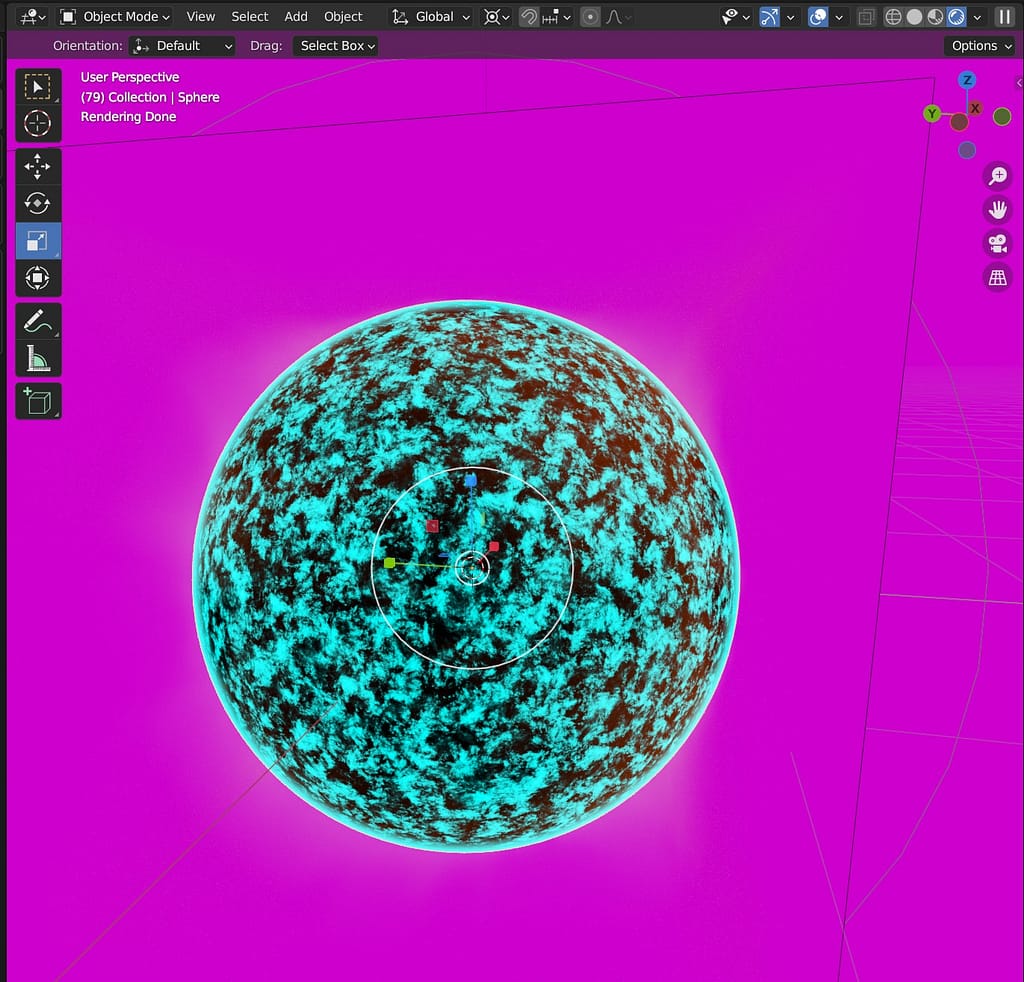
For Week 31 I had received feedback on my progress so far and after adding in parts that I had missed on my WordPress I began finalising and adapting my production. I started by remaking the star itself as I had continuously come across issues with the flame physics as they wanted to expand instead of staying at a constant height. I followed the video below to aid my progress and provide further useful information about blender.
After watching this video I ended up with the texture below. after several different alterations of colour such as viewing what it may look like with a blue-white tint to represent a white dwarf I altered it to appease towards my own idea of A red Giant as I believe that by having it in more of a yellow/orange tint would make it look realistic due to supernovas only occurring through either a white dwarf or a Red giant. The blue colouring did however look good but I feel it wouldn’t suit the design as well due to the colours of the smoke being more green than blue.
I also added a very simple yet effective rotation of the star as it would further strengthen the realism because massive bodies do not stay still in space. The only time they would stay still is if they are tidal locked which only occurs through planets and not bodies such as stars or Black holes.
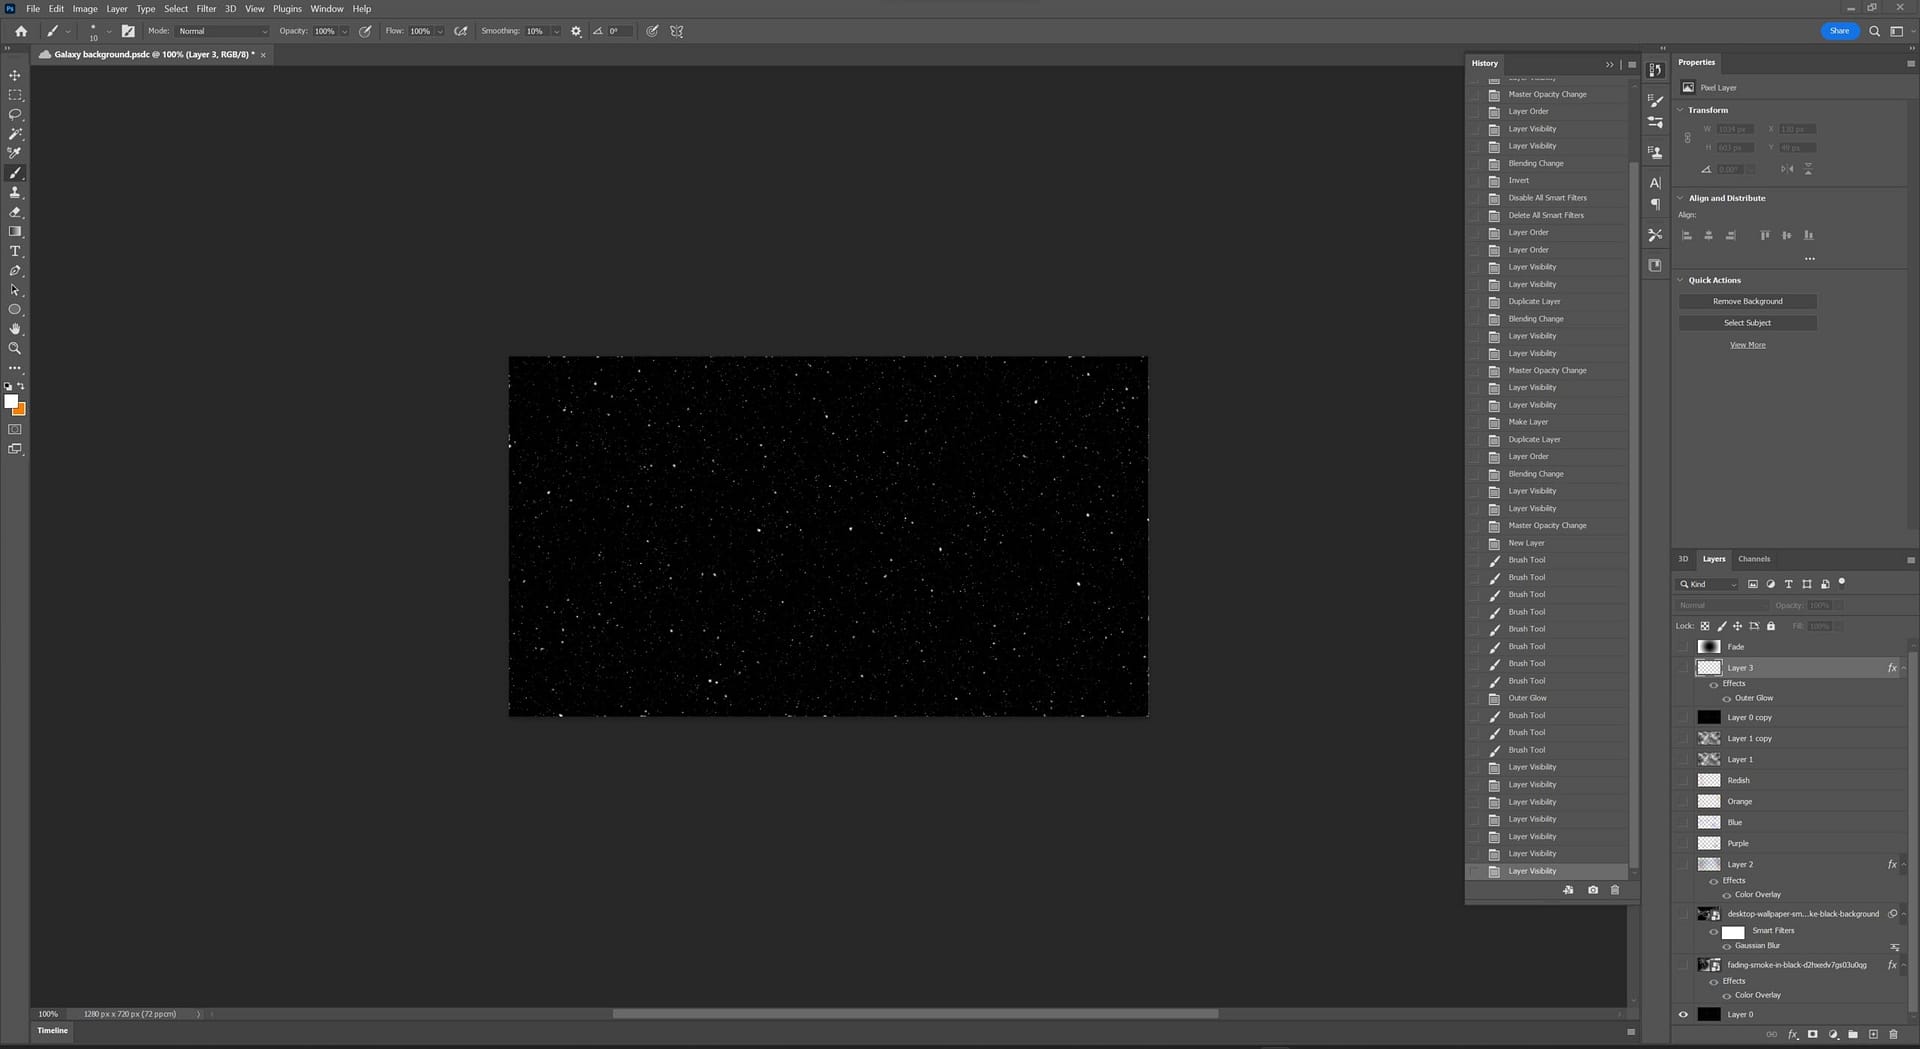
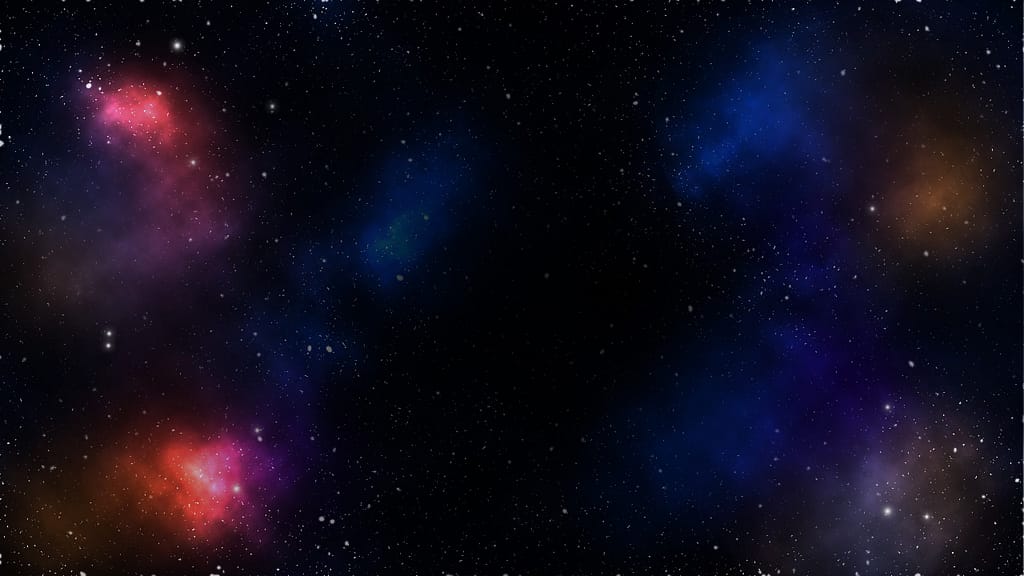
The next thing I began working on was my background for the scenes. On photoshop, I used the noise filters then altered the layer to have more black than white within the noise. Then I added a cloud filtering and added colour dodge to it and reduced its opacity. Then I began adding colouring to it using a soft brush with smoothing turned on and Finally I added some smoke wisps and fade to it to add depth to the galaxy. Below is the progress as well as the final image.

For Friday’s lesson I worked on finishing the animation as well as rendering out the first scene. After several hours below is what I ended up with
For the next few days I reworked the animation of the star after realising that it looked very janky and instead of imitating a star it looked like that of a bouncy ball. I started by changing the camera angles, I then replaced the pulsating with noise vibrating using the graph editor feature. the pre rendered result appeared very useful and by reducing the amount of camera angles it made the animation feel heavier in a good way as a massive star wouldn’t have fast movements and reactions.
The graph editor has a built in feature to add noise to whichever transformation you’d like. This way I was able to create a randomised shaking of the ball and enable it to fade in at a desired frame.
After this, I began working on updating the explosion itself. This part had already challenged me before and this time was no different. Although the smoke appeared in the viewport display, It refused to render out when I tried. after trying to figure out the issue. I found that it was due to the particles in the scene not being baked. After I baked the scene I noticed a significant change. the smoke began appearing in my renders finally. I then decided that I would prioritise my remaining time setting camera angles as quickly and efficiently as possible whilst also ensuring i have time to render.
Final Week
For the final week, I began by adding improved camera angles as well as rendering out the explosion itself. Unfortunately, when I was rendering, I encountered many challenges which held me back on my progress. when rendering. the process would take so long that within 5 hours it had only rendered 67 frames out of the 1440. to combat this I reduced the sampling to make it quicker. Next I found another issue with the camera clipping through the smoke or not having enough render distance to view the scene. This was combated by decreasing the minimum distance to near zero and increasing the maximum distance to 100000m. Below is all my failed renders and a test render of what happened after I changed the features stated above.
After this, I came across yet another issue being that the when rendering the files out, they were replacing each other. This meant that it was only letting me have one scene. This meant that I had to re render both videos on the last day then upload them to After Effects before rendering the other one which would take up most of my time and leave me with very little time remaining.
For the last couple hours, I worked on adding simple but effective effects and transition to the video within After Effects. I changed the opacity on the keyframes to add a fade in and fade out effect. as well as adding a white box to make it look like the light of the explosion blinded the camera. Below is an unlisted video of my animation.
To conclude the FMP, I believe that although I faced many challenges throughout, I was able to effectively produce a video long enough and realistic enough to fit with my goals.
Nasa. (2021). What is a supernova?. [Online]. Nasa Science. Last Updated: July 23 2021. Available at: https://spaceplace.nasa.gov/supernova/en/ [Accessed 10 May 2023].
Office of science. (2019). DOE explains… supernovae. [Online]. Energy.gov. Available at: https://www.energy.gov/science/doe-explainssupernovae#:~:text=When%20the%20pressure%20drops%20low,th [Accessed 17 May 2023].